Vespa VL3T Body Work
For
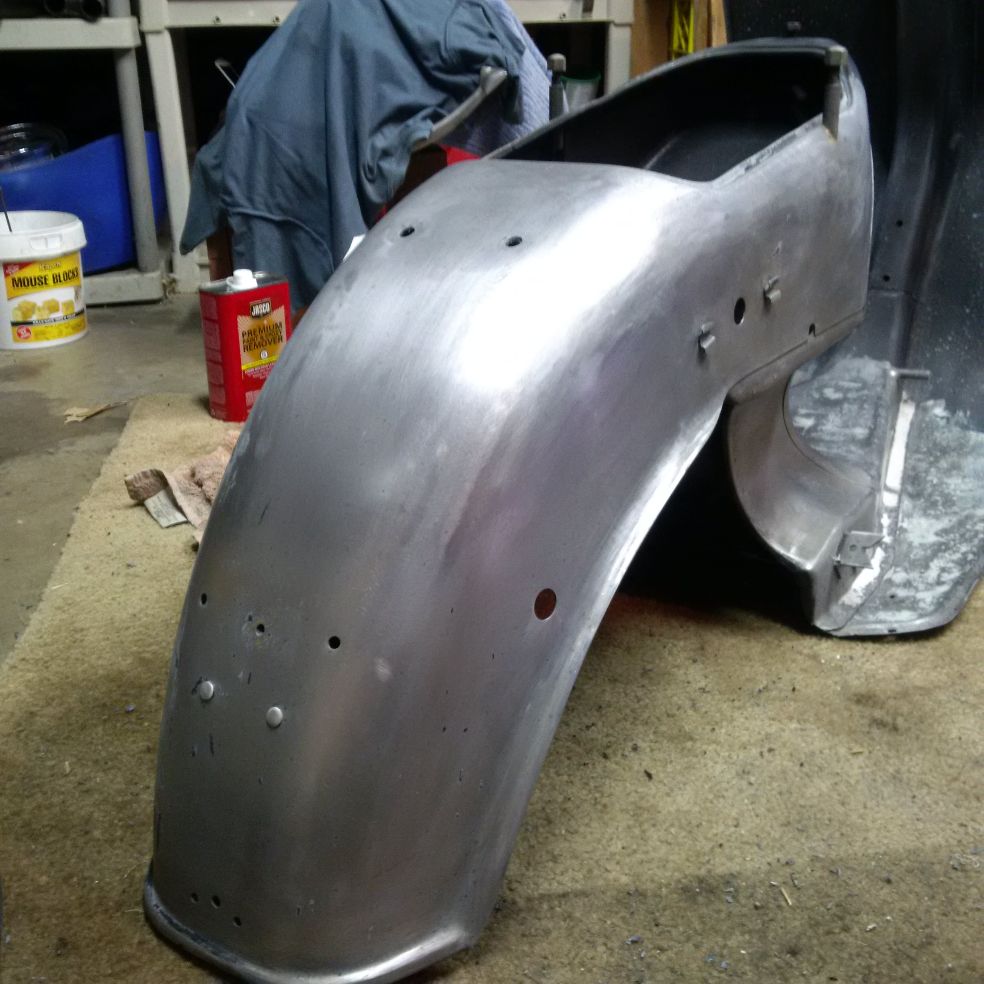
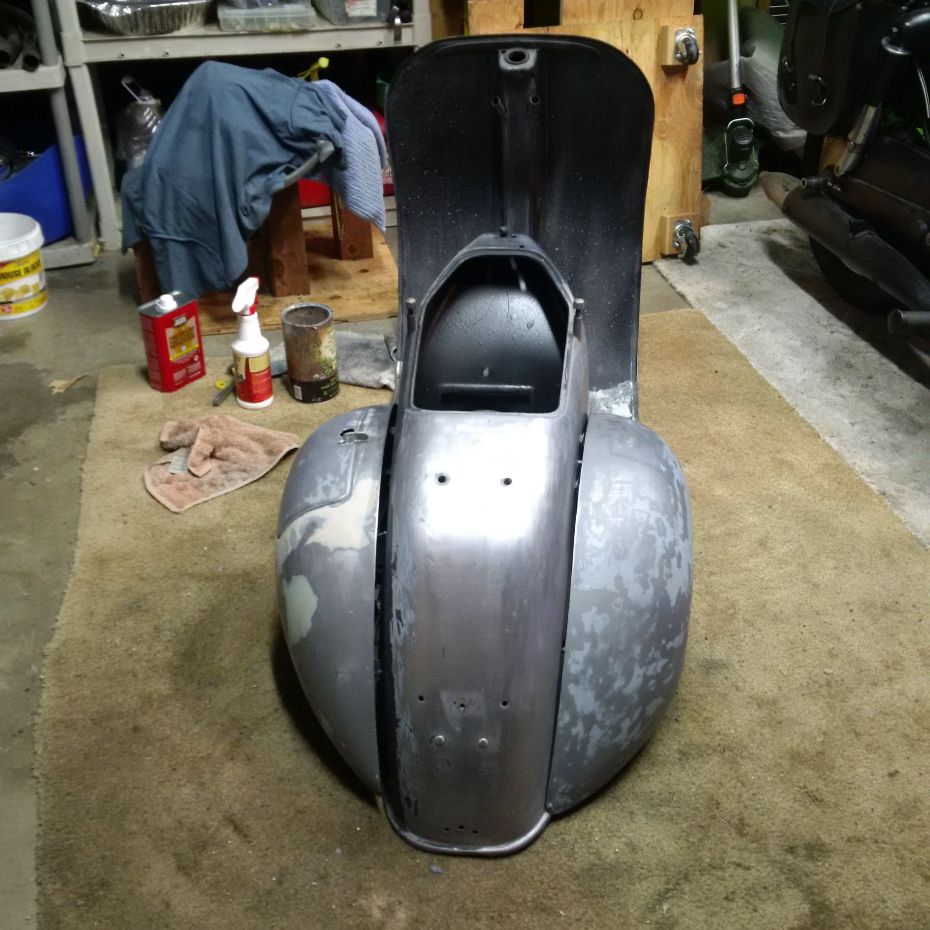
the time being I have decided to strip the body down to bare metal and
possibly work with a clear coat finish. Somewhere along the line
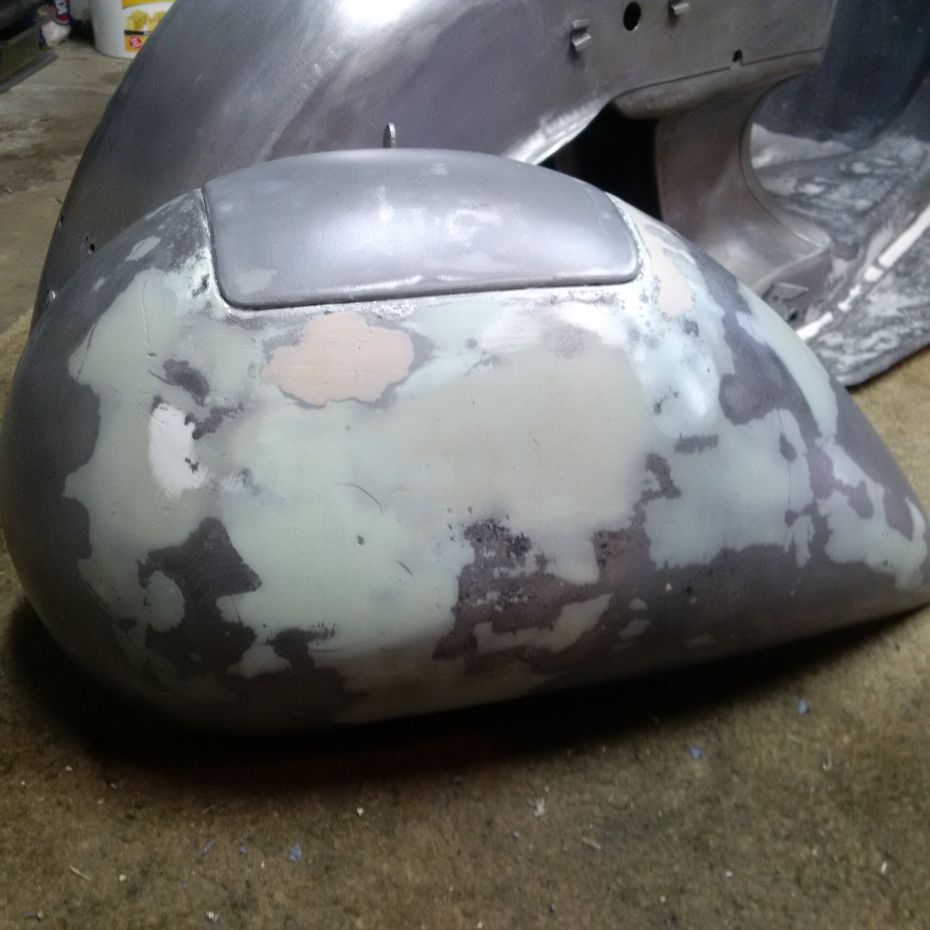
a previous owner did some body work to try and cover some rust
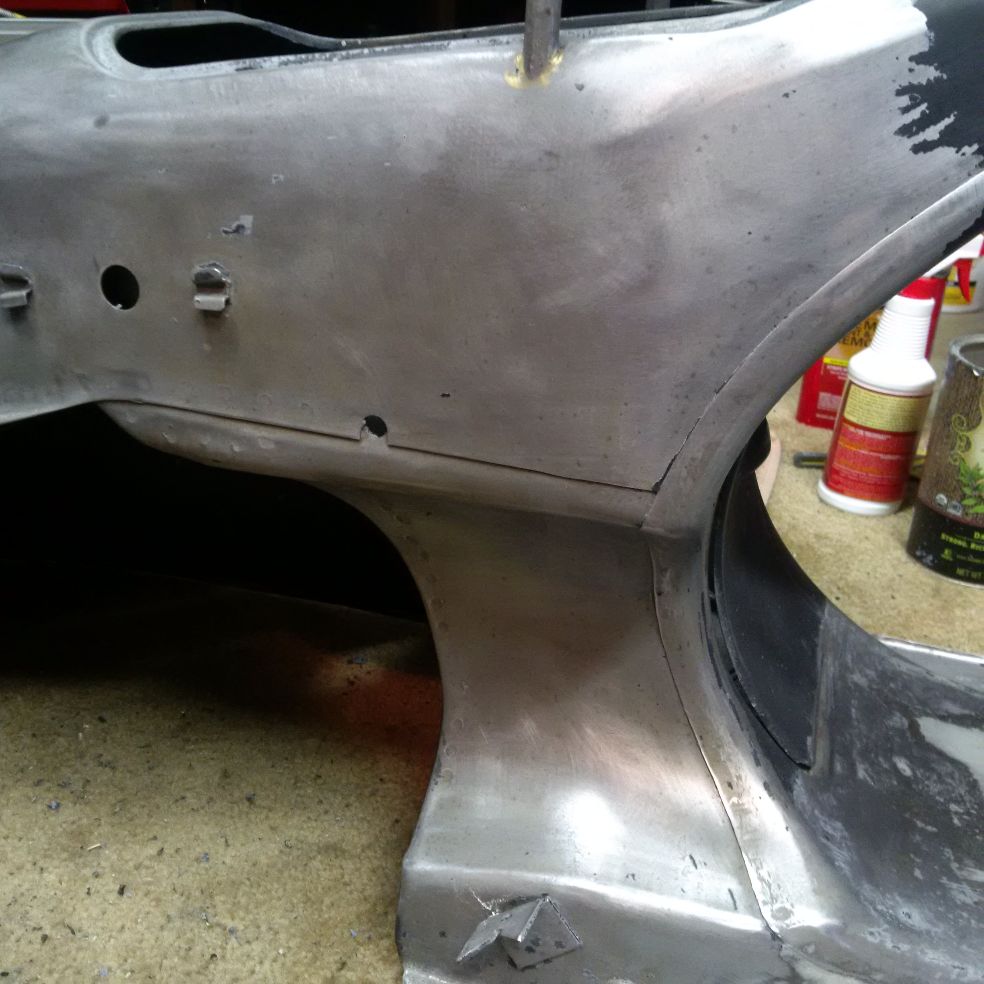
damage. Rust damage does not appear to be too serious. In
fact the filler and bondo seem to be worse that the original damage to
the frame from rust pitting. Not sure what I will find as I
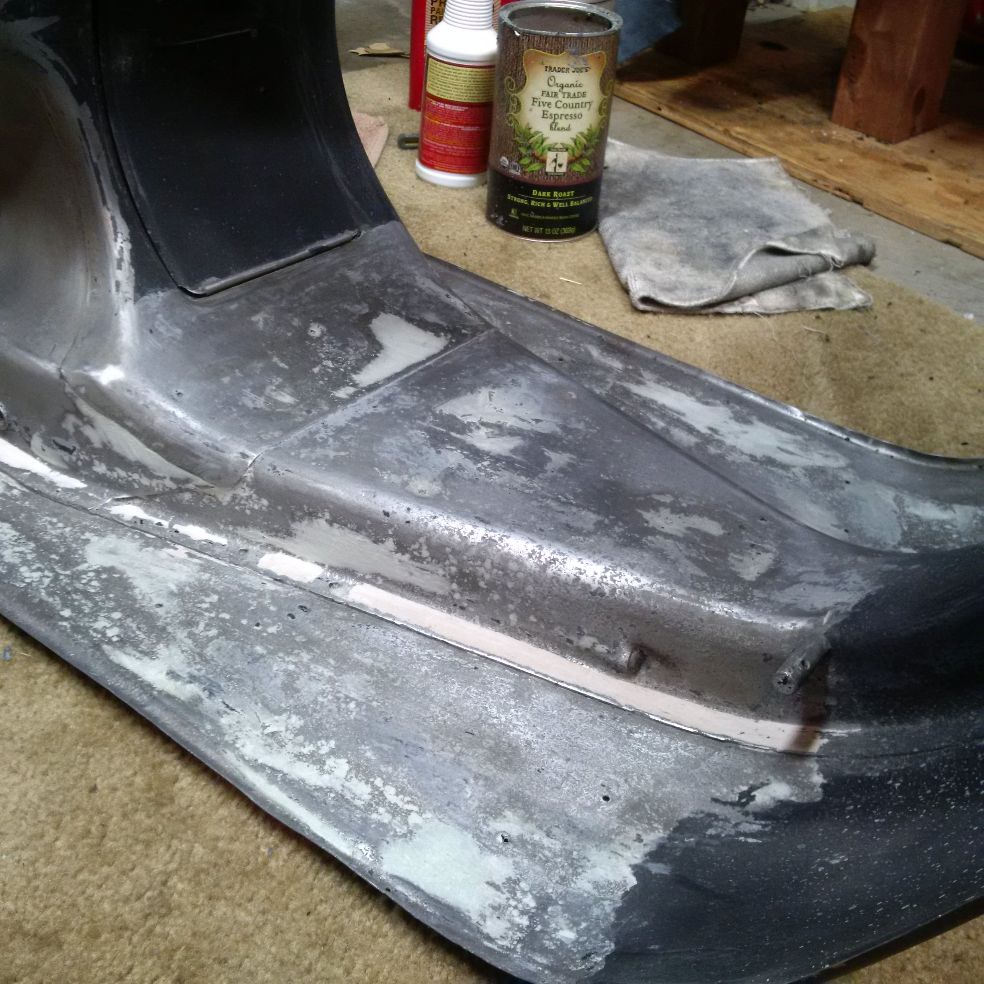
continue stripping paint and primer but the floor seems to be fine and
the rear looks great. Cowls are a bit messy.
I think I may be able to live with this.
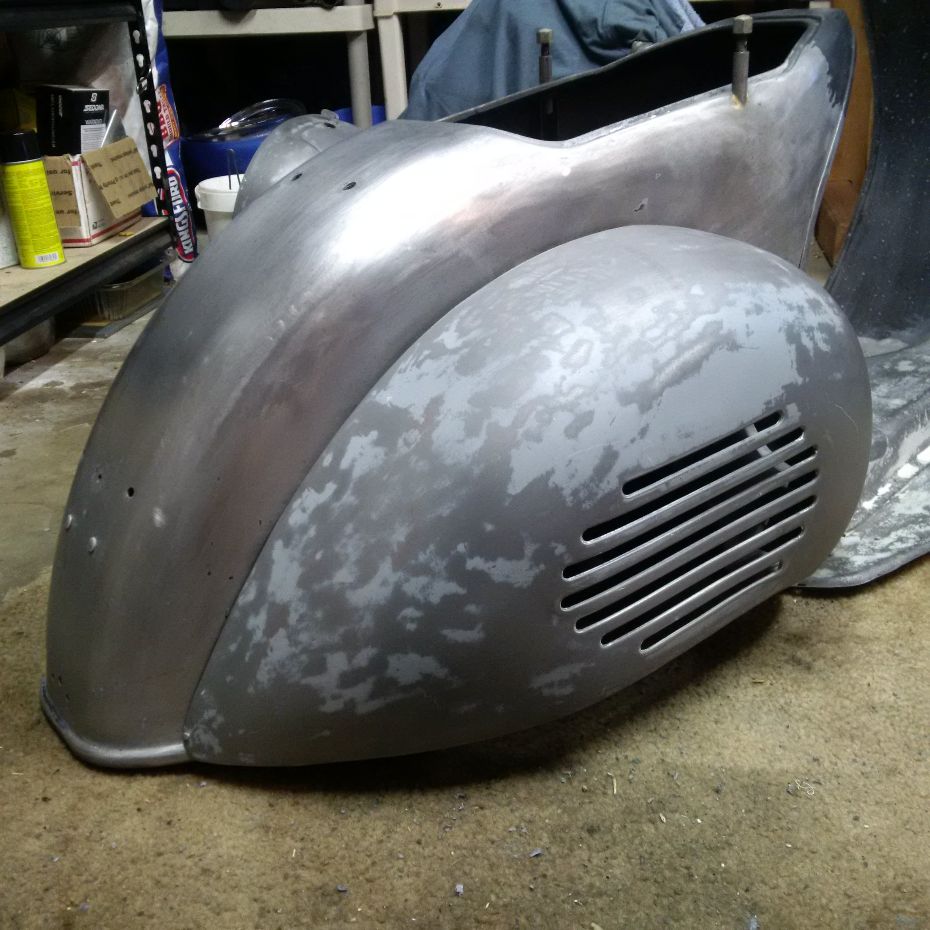
I have decided to go with an unpainted rat look. I hit
the scooter with 3 coats of spray can clear gloss. The nice thing
is that you get the protection you want from elements but the color and
finish do not have to be perfect because the imperfections are
impossible to see.
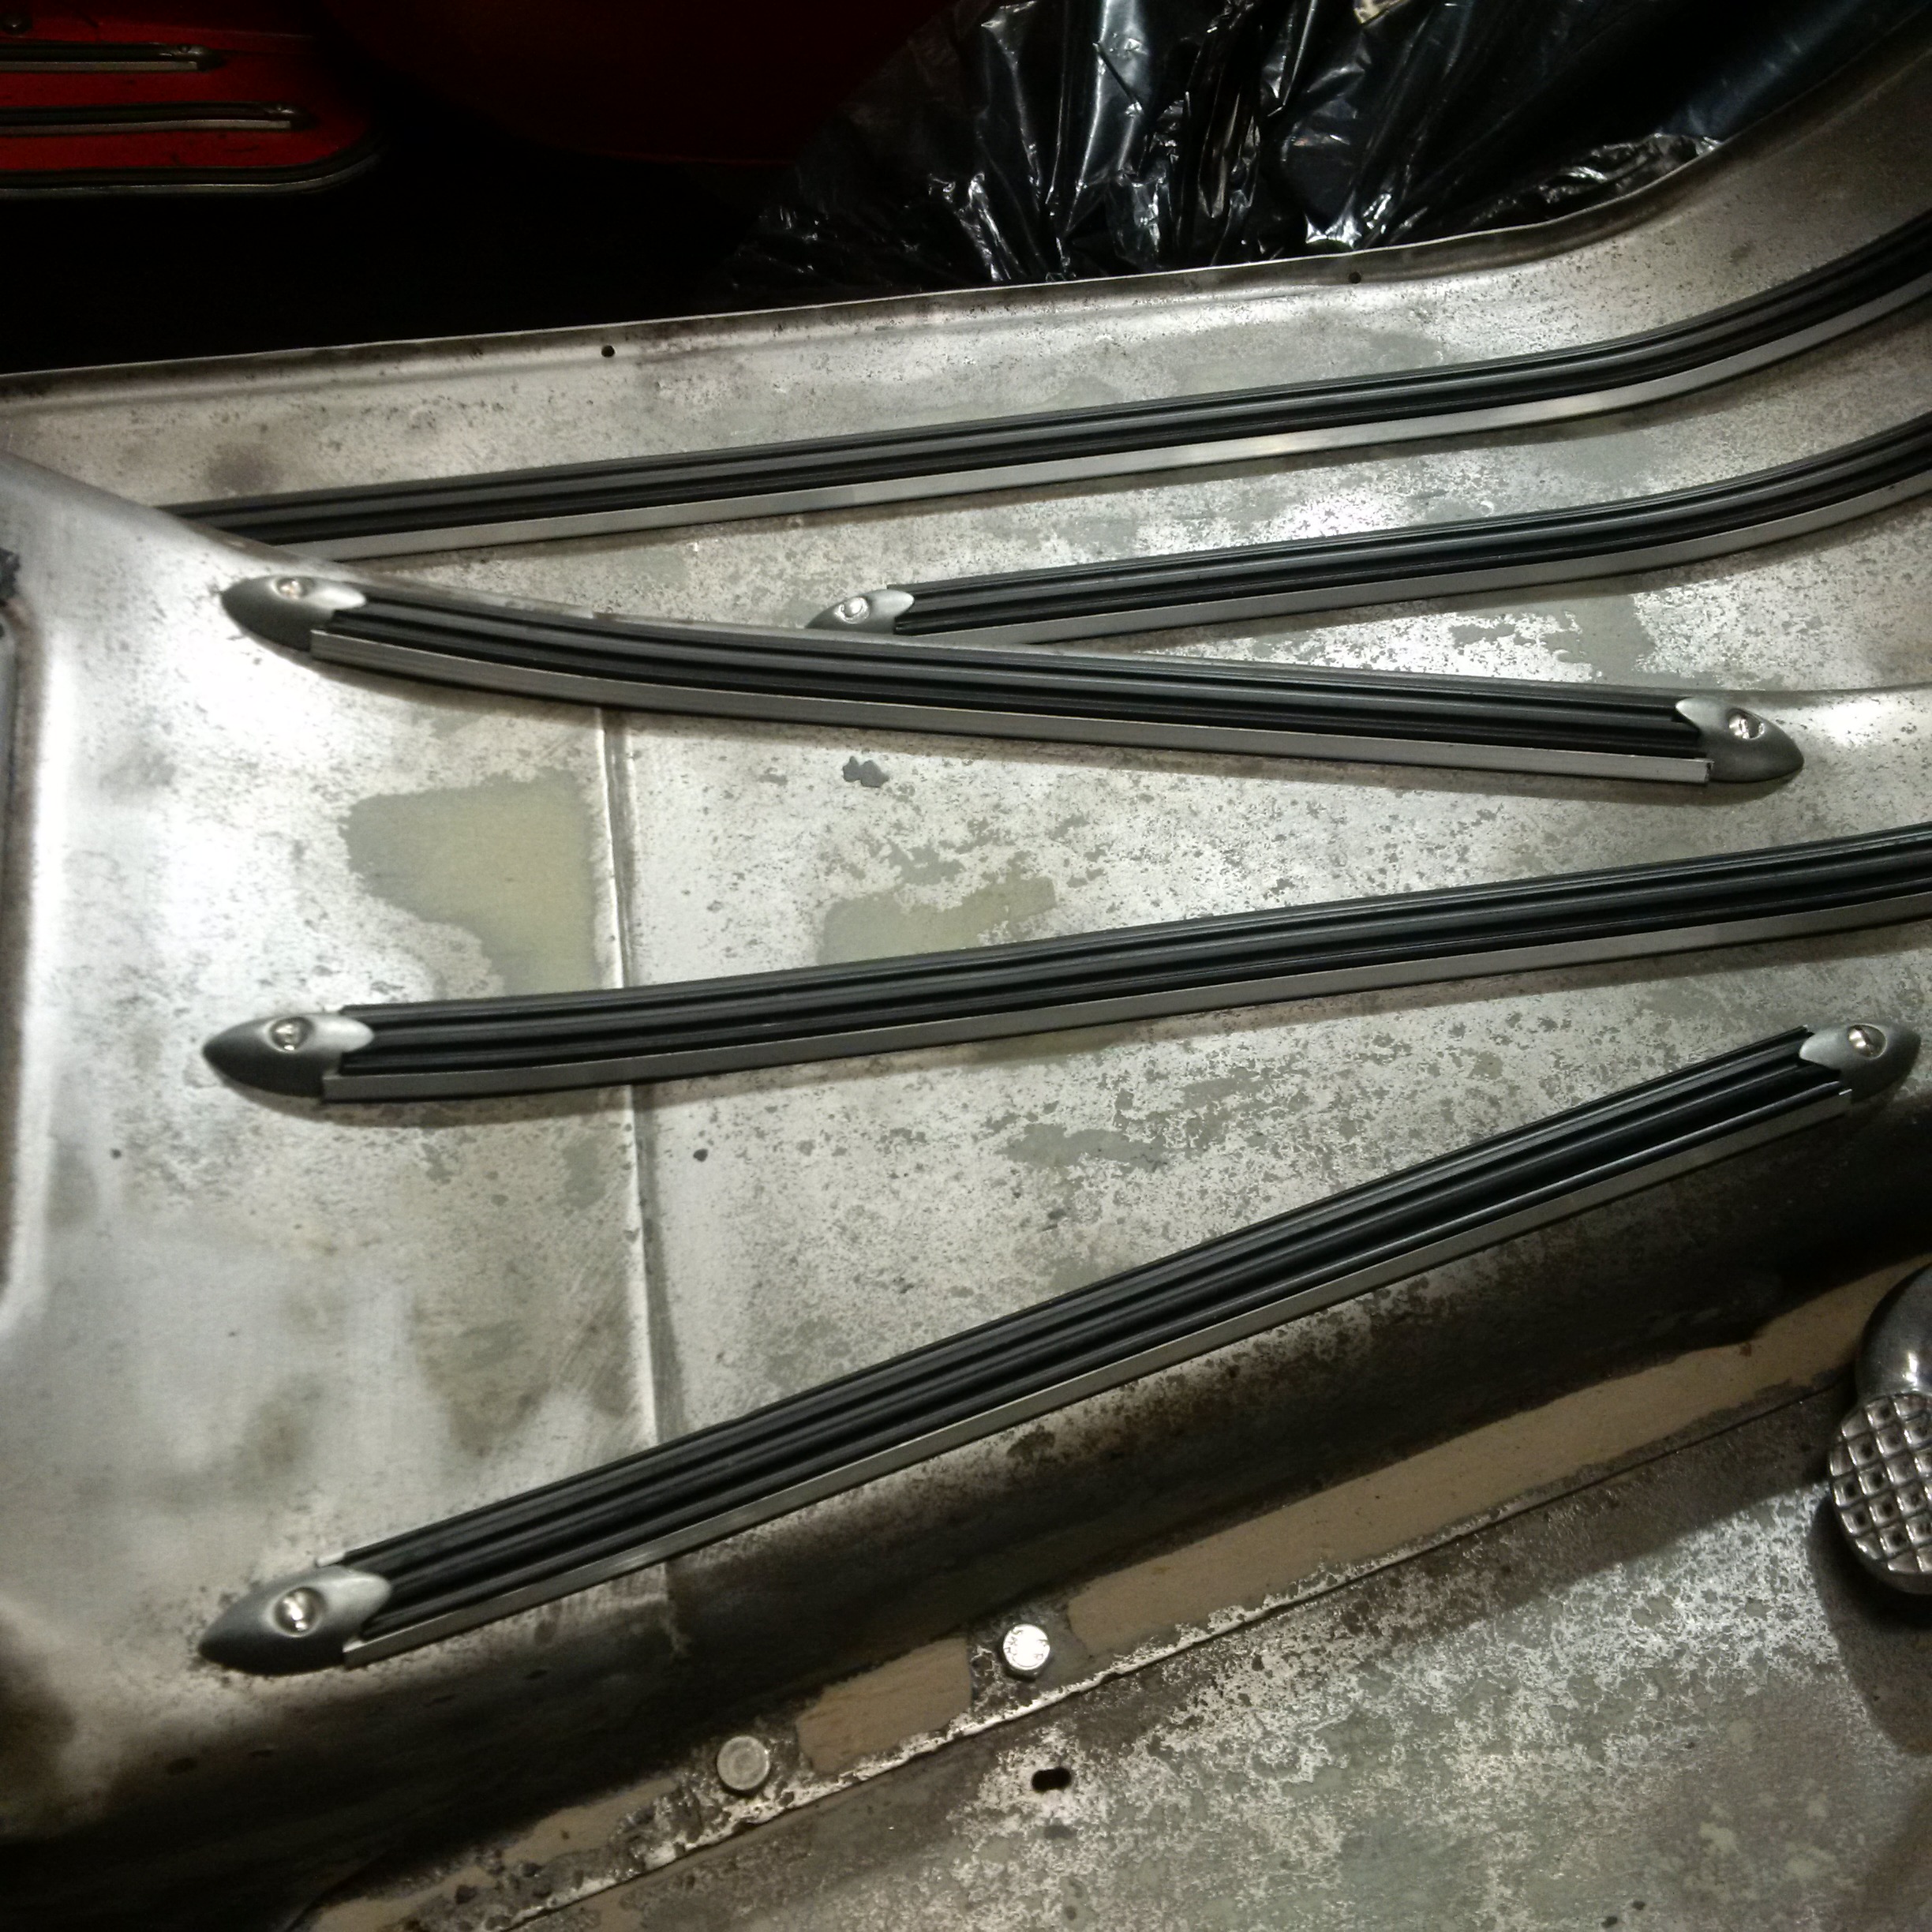
So I have added some badges and floor rails going with a grey and black color combo.
 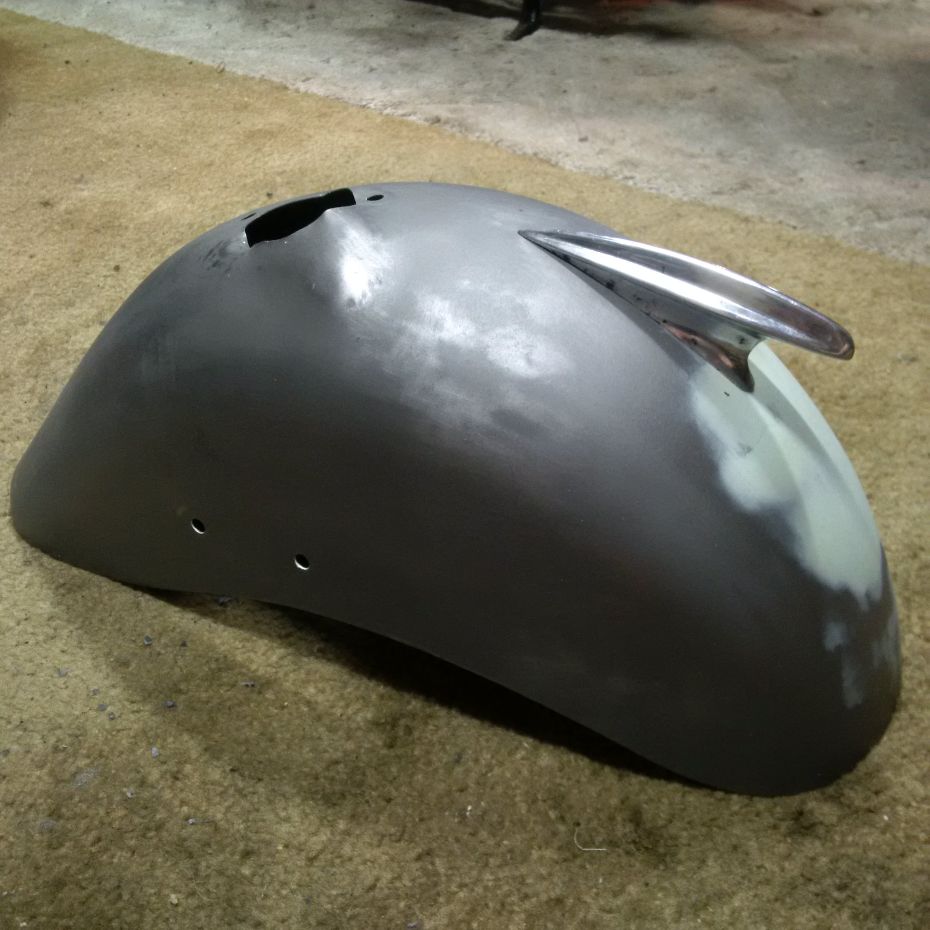
When installing and removing this badge it is necessary to
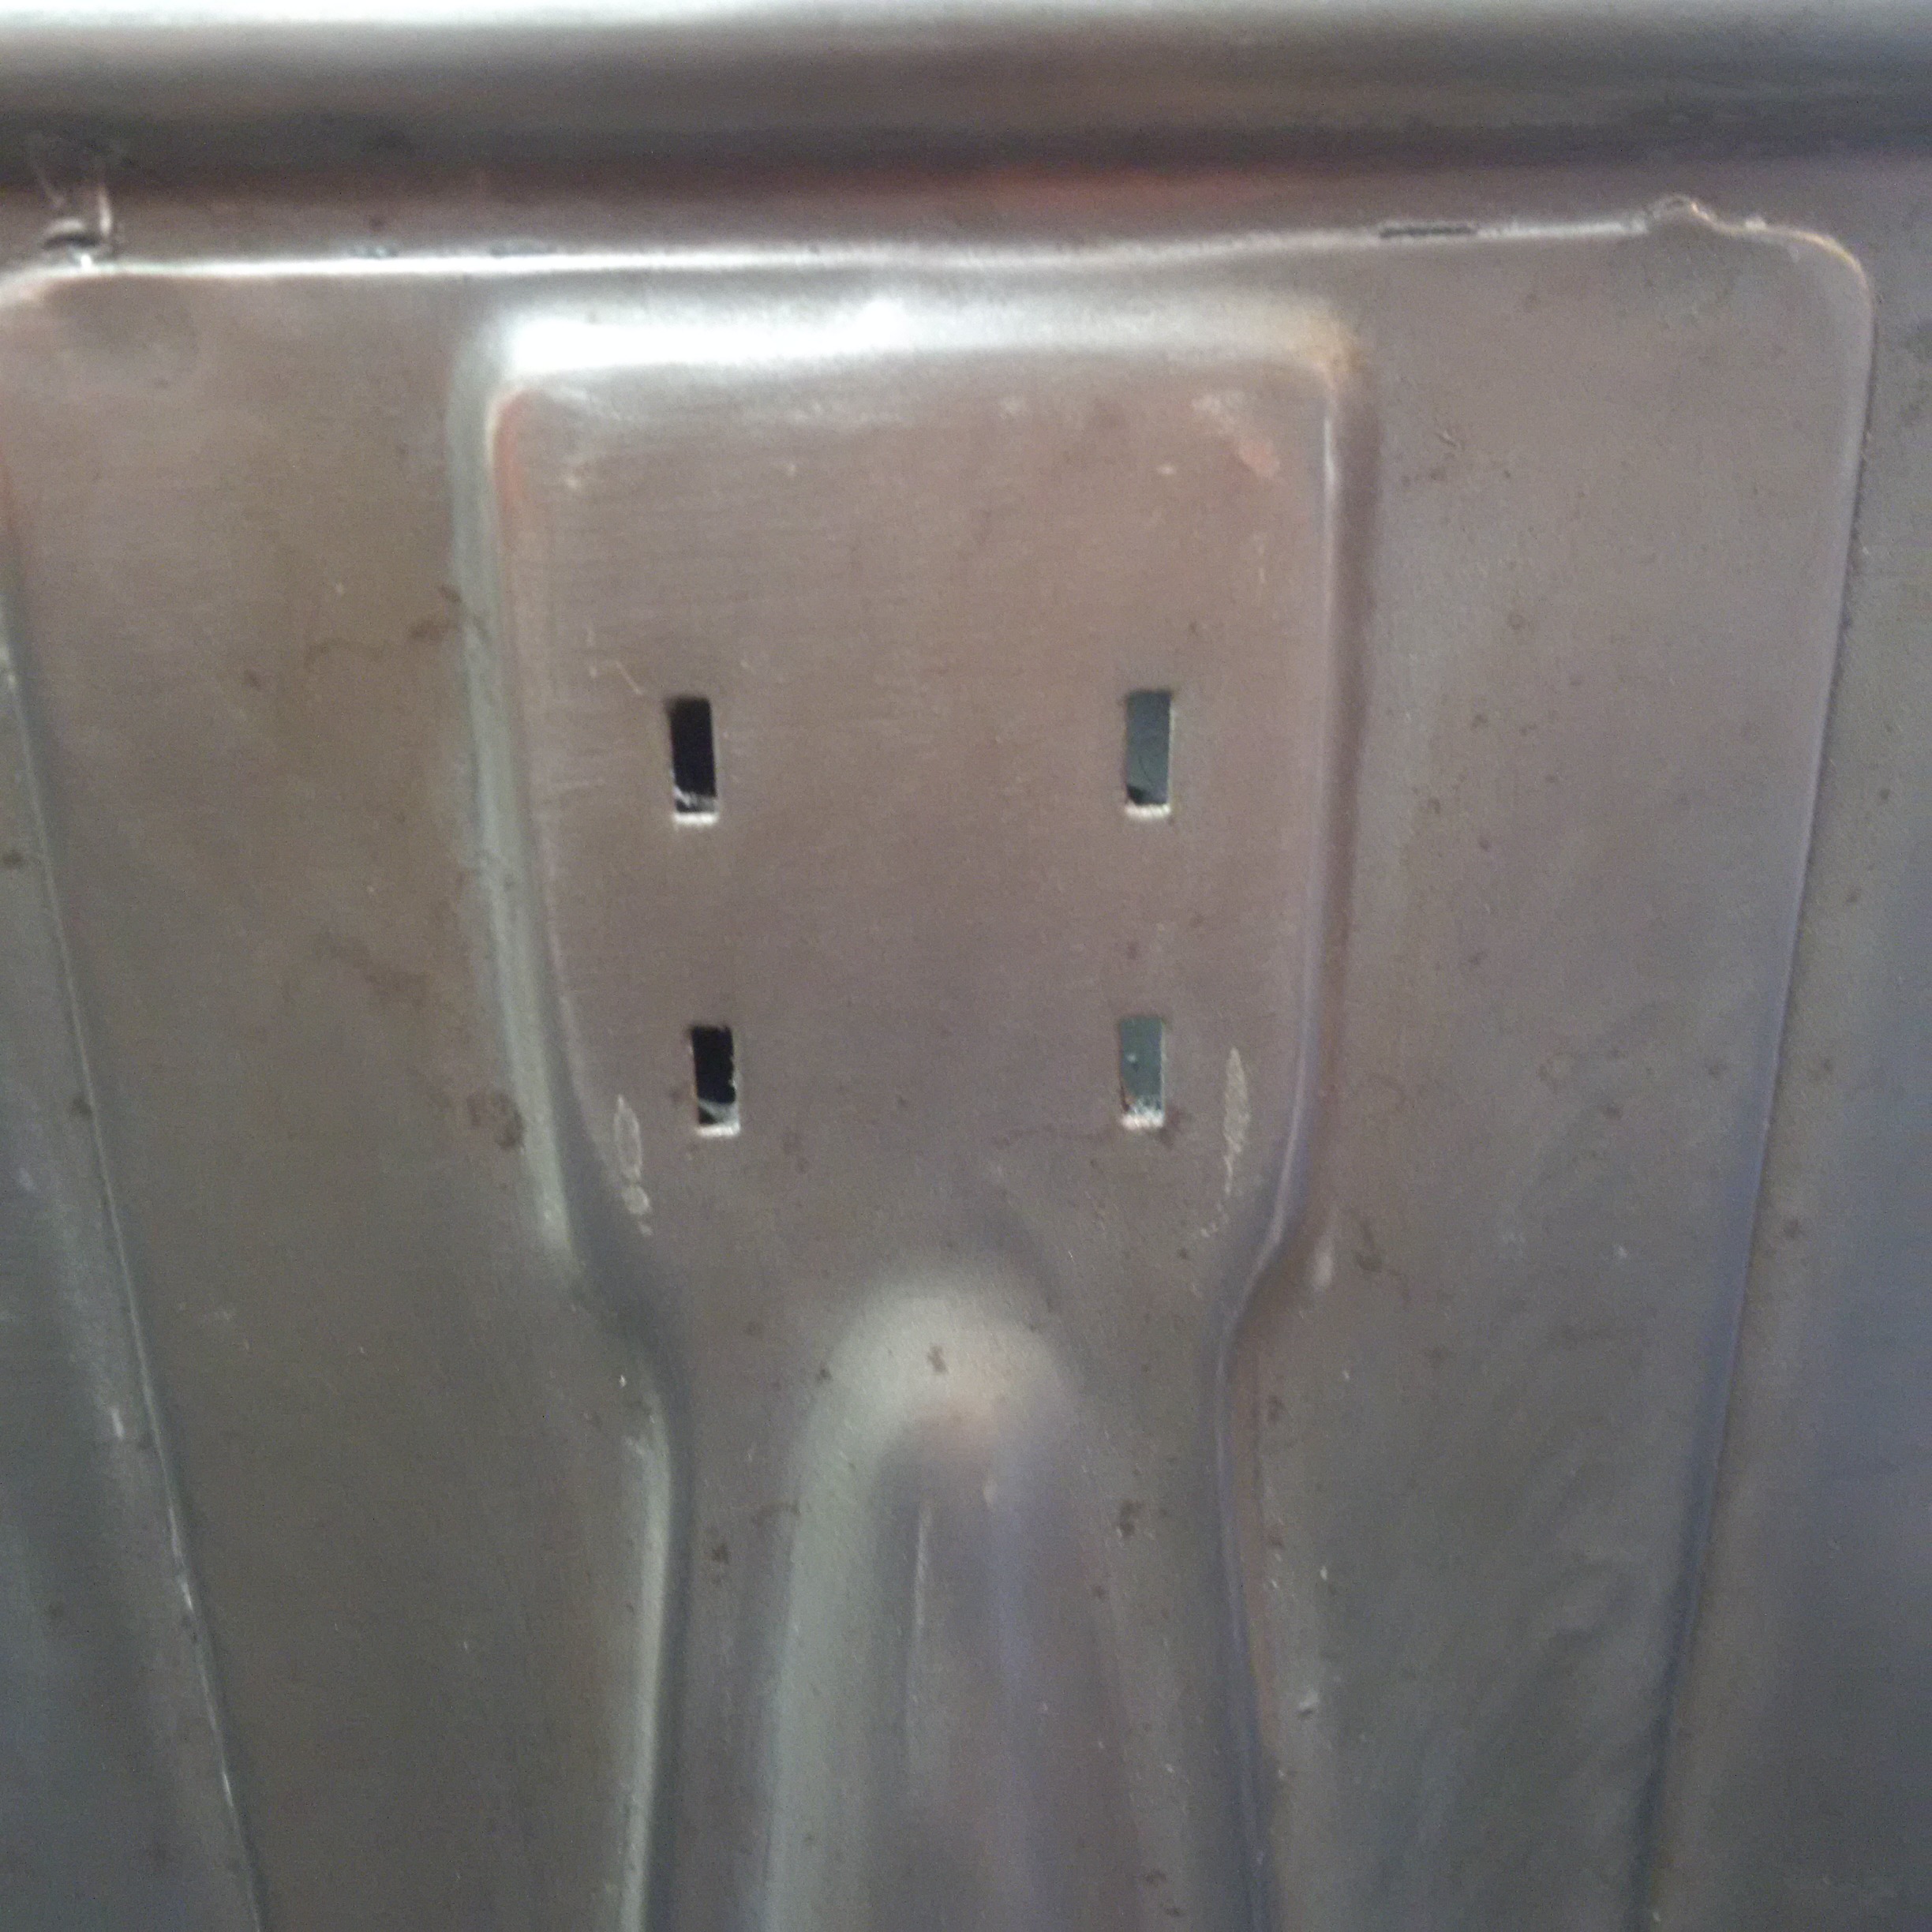
remove the fork first. The badge attaches to the frame with 4
small tabs that fit in to the slots pictured and then fold over.
You can see where the previous owner tried to pry the badge off and
damaged the enamel. Too bad, but it will fit with my look.
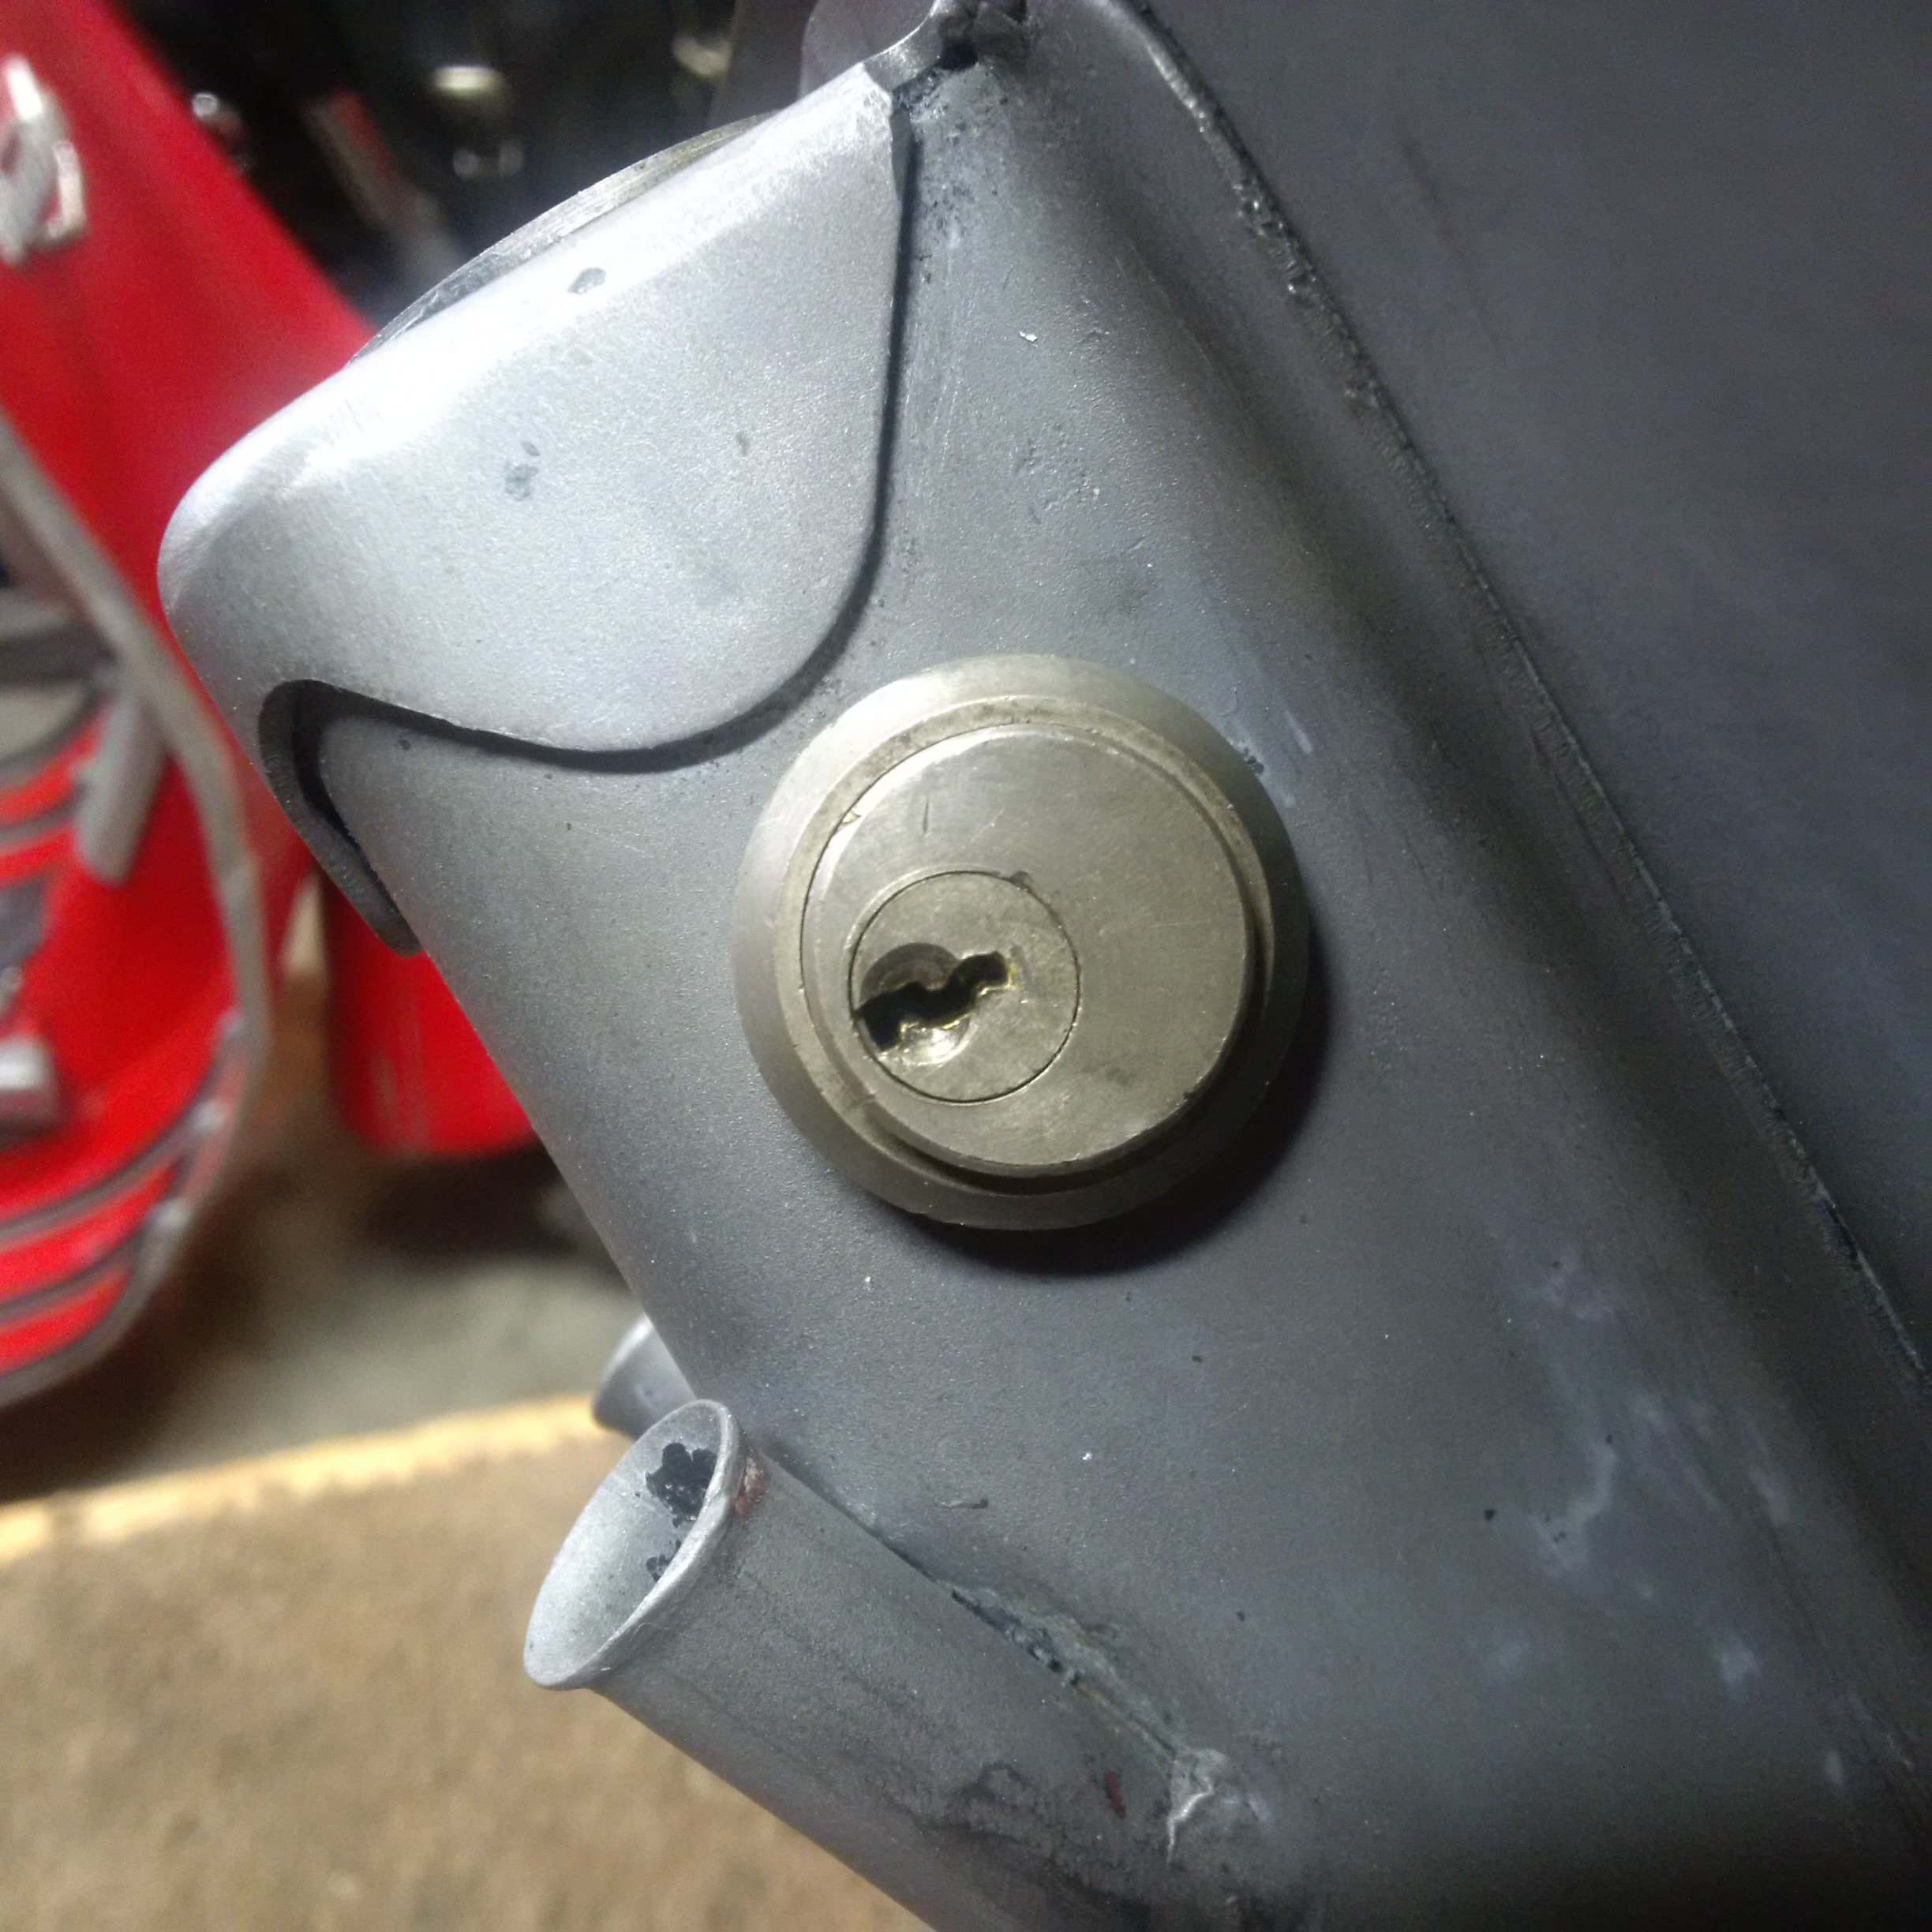
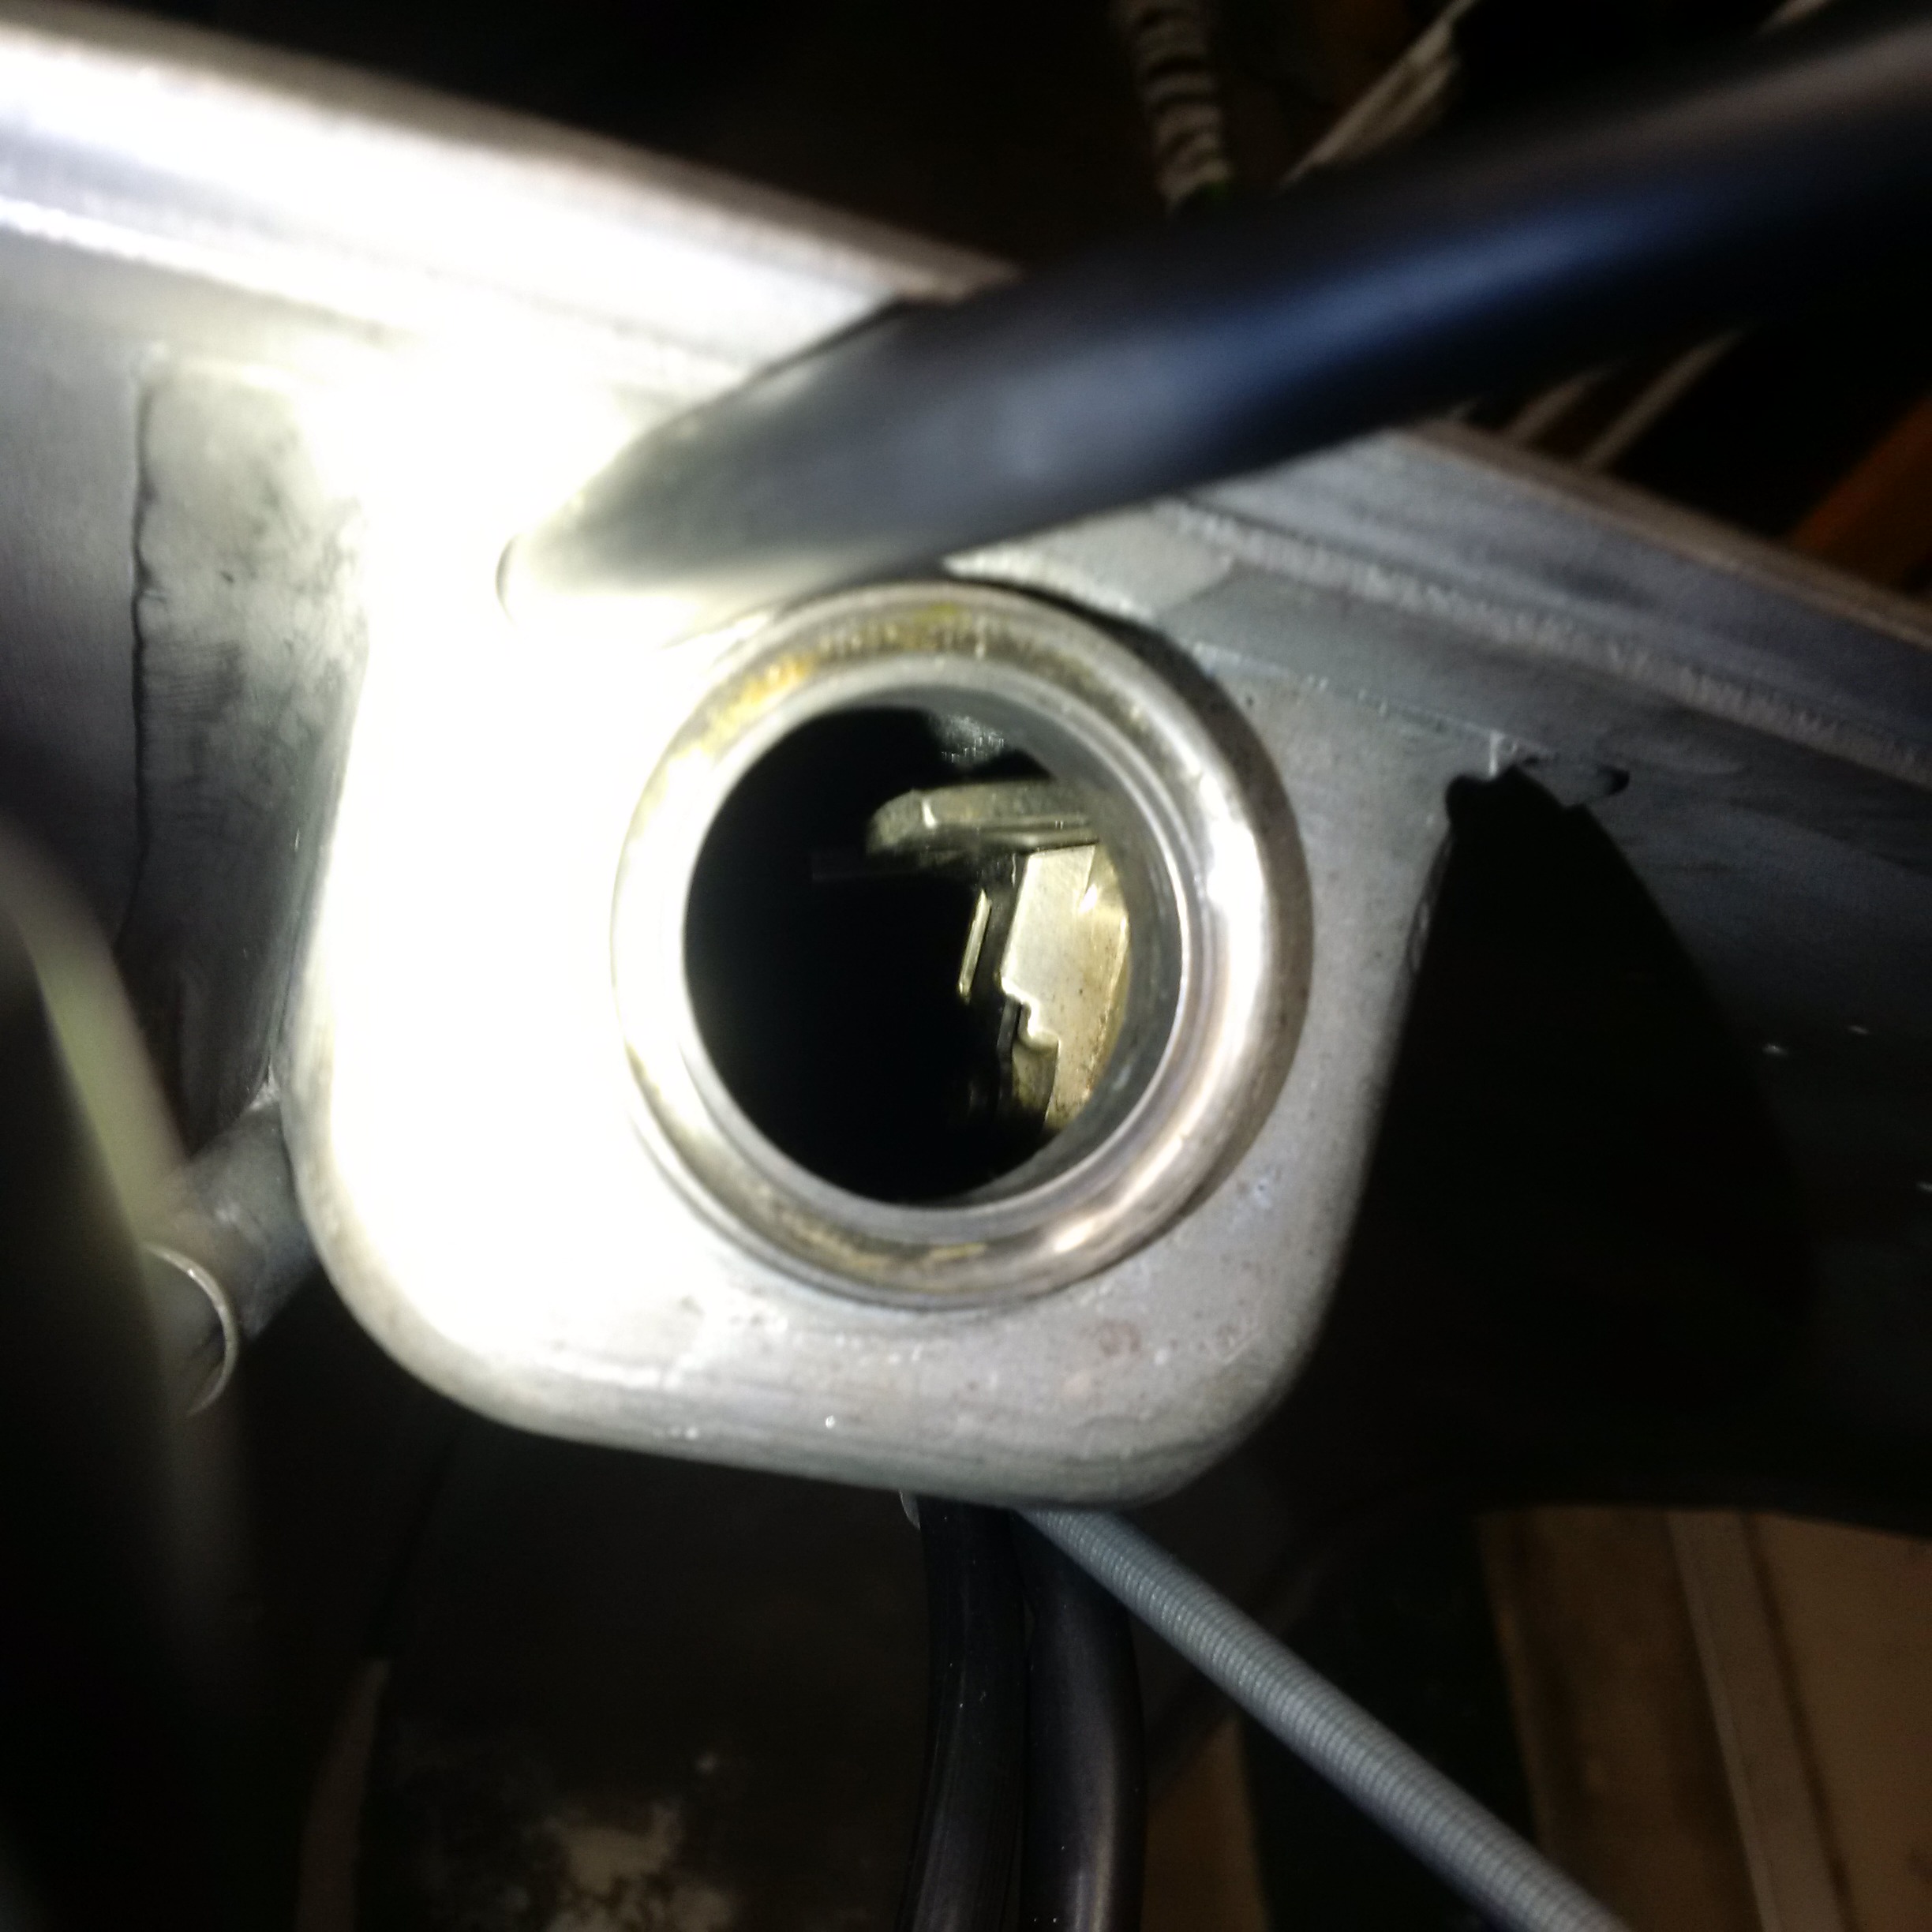
Steering column lock outside and inside the fork.
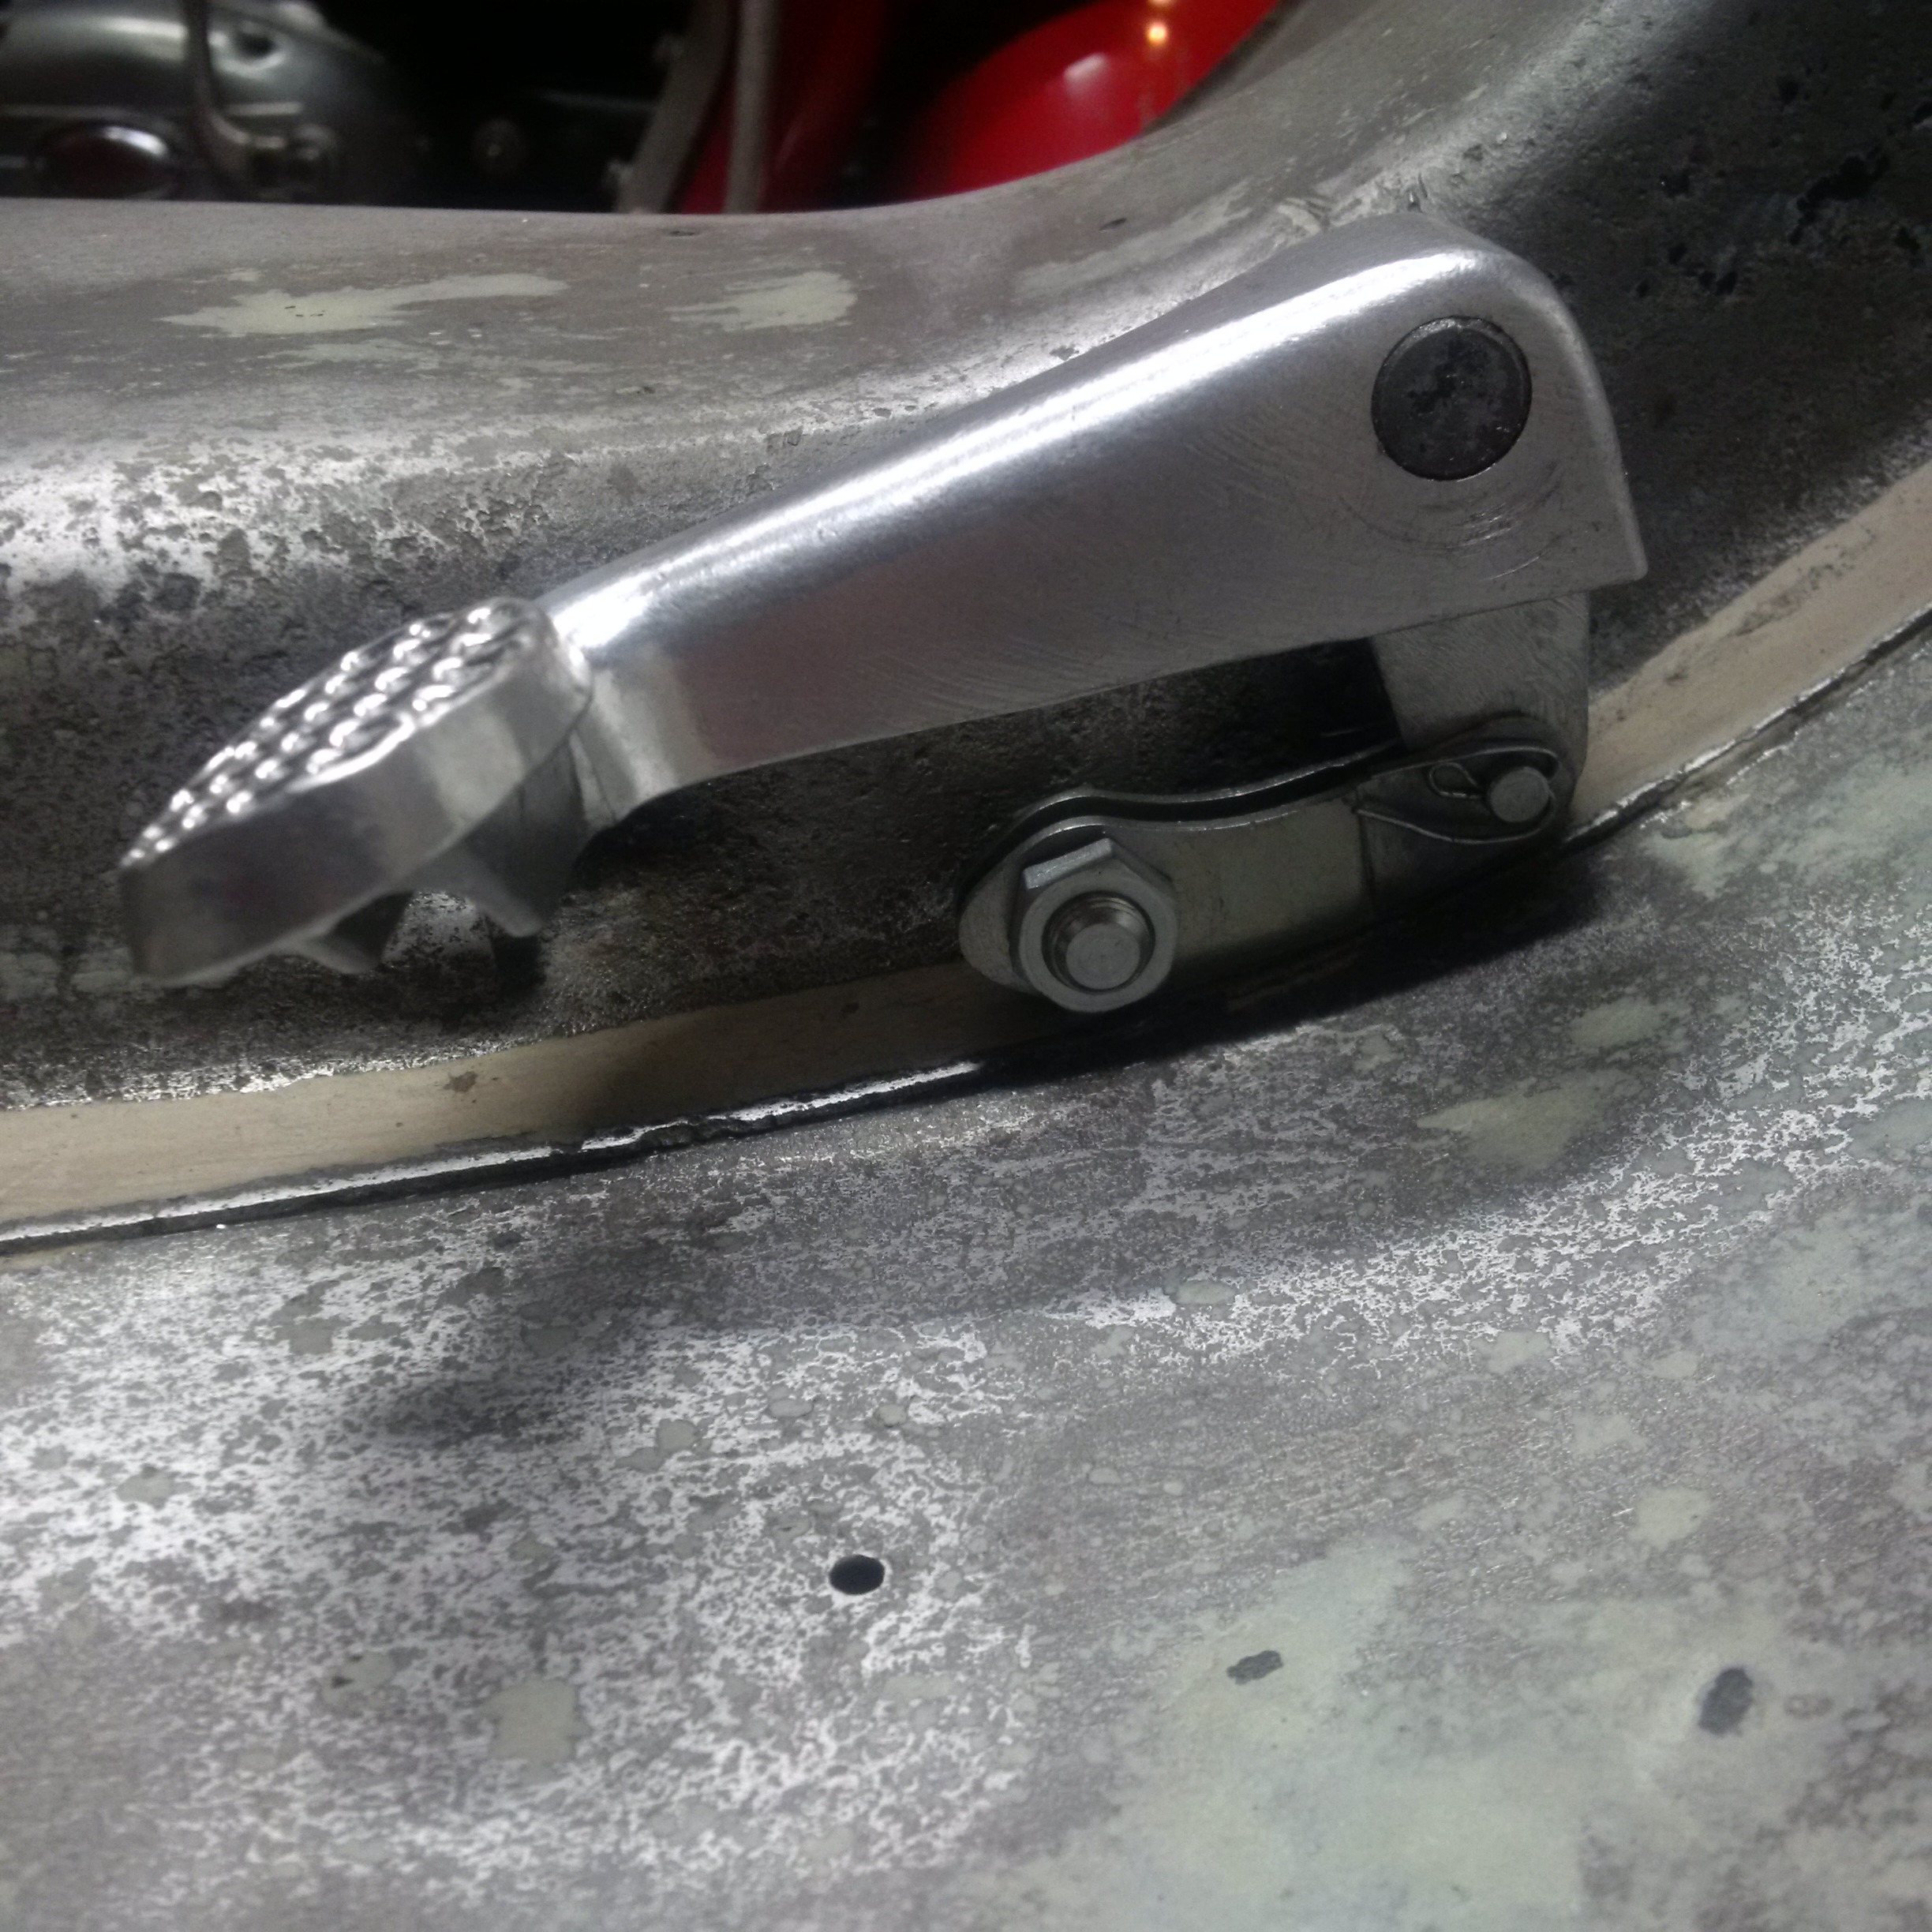
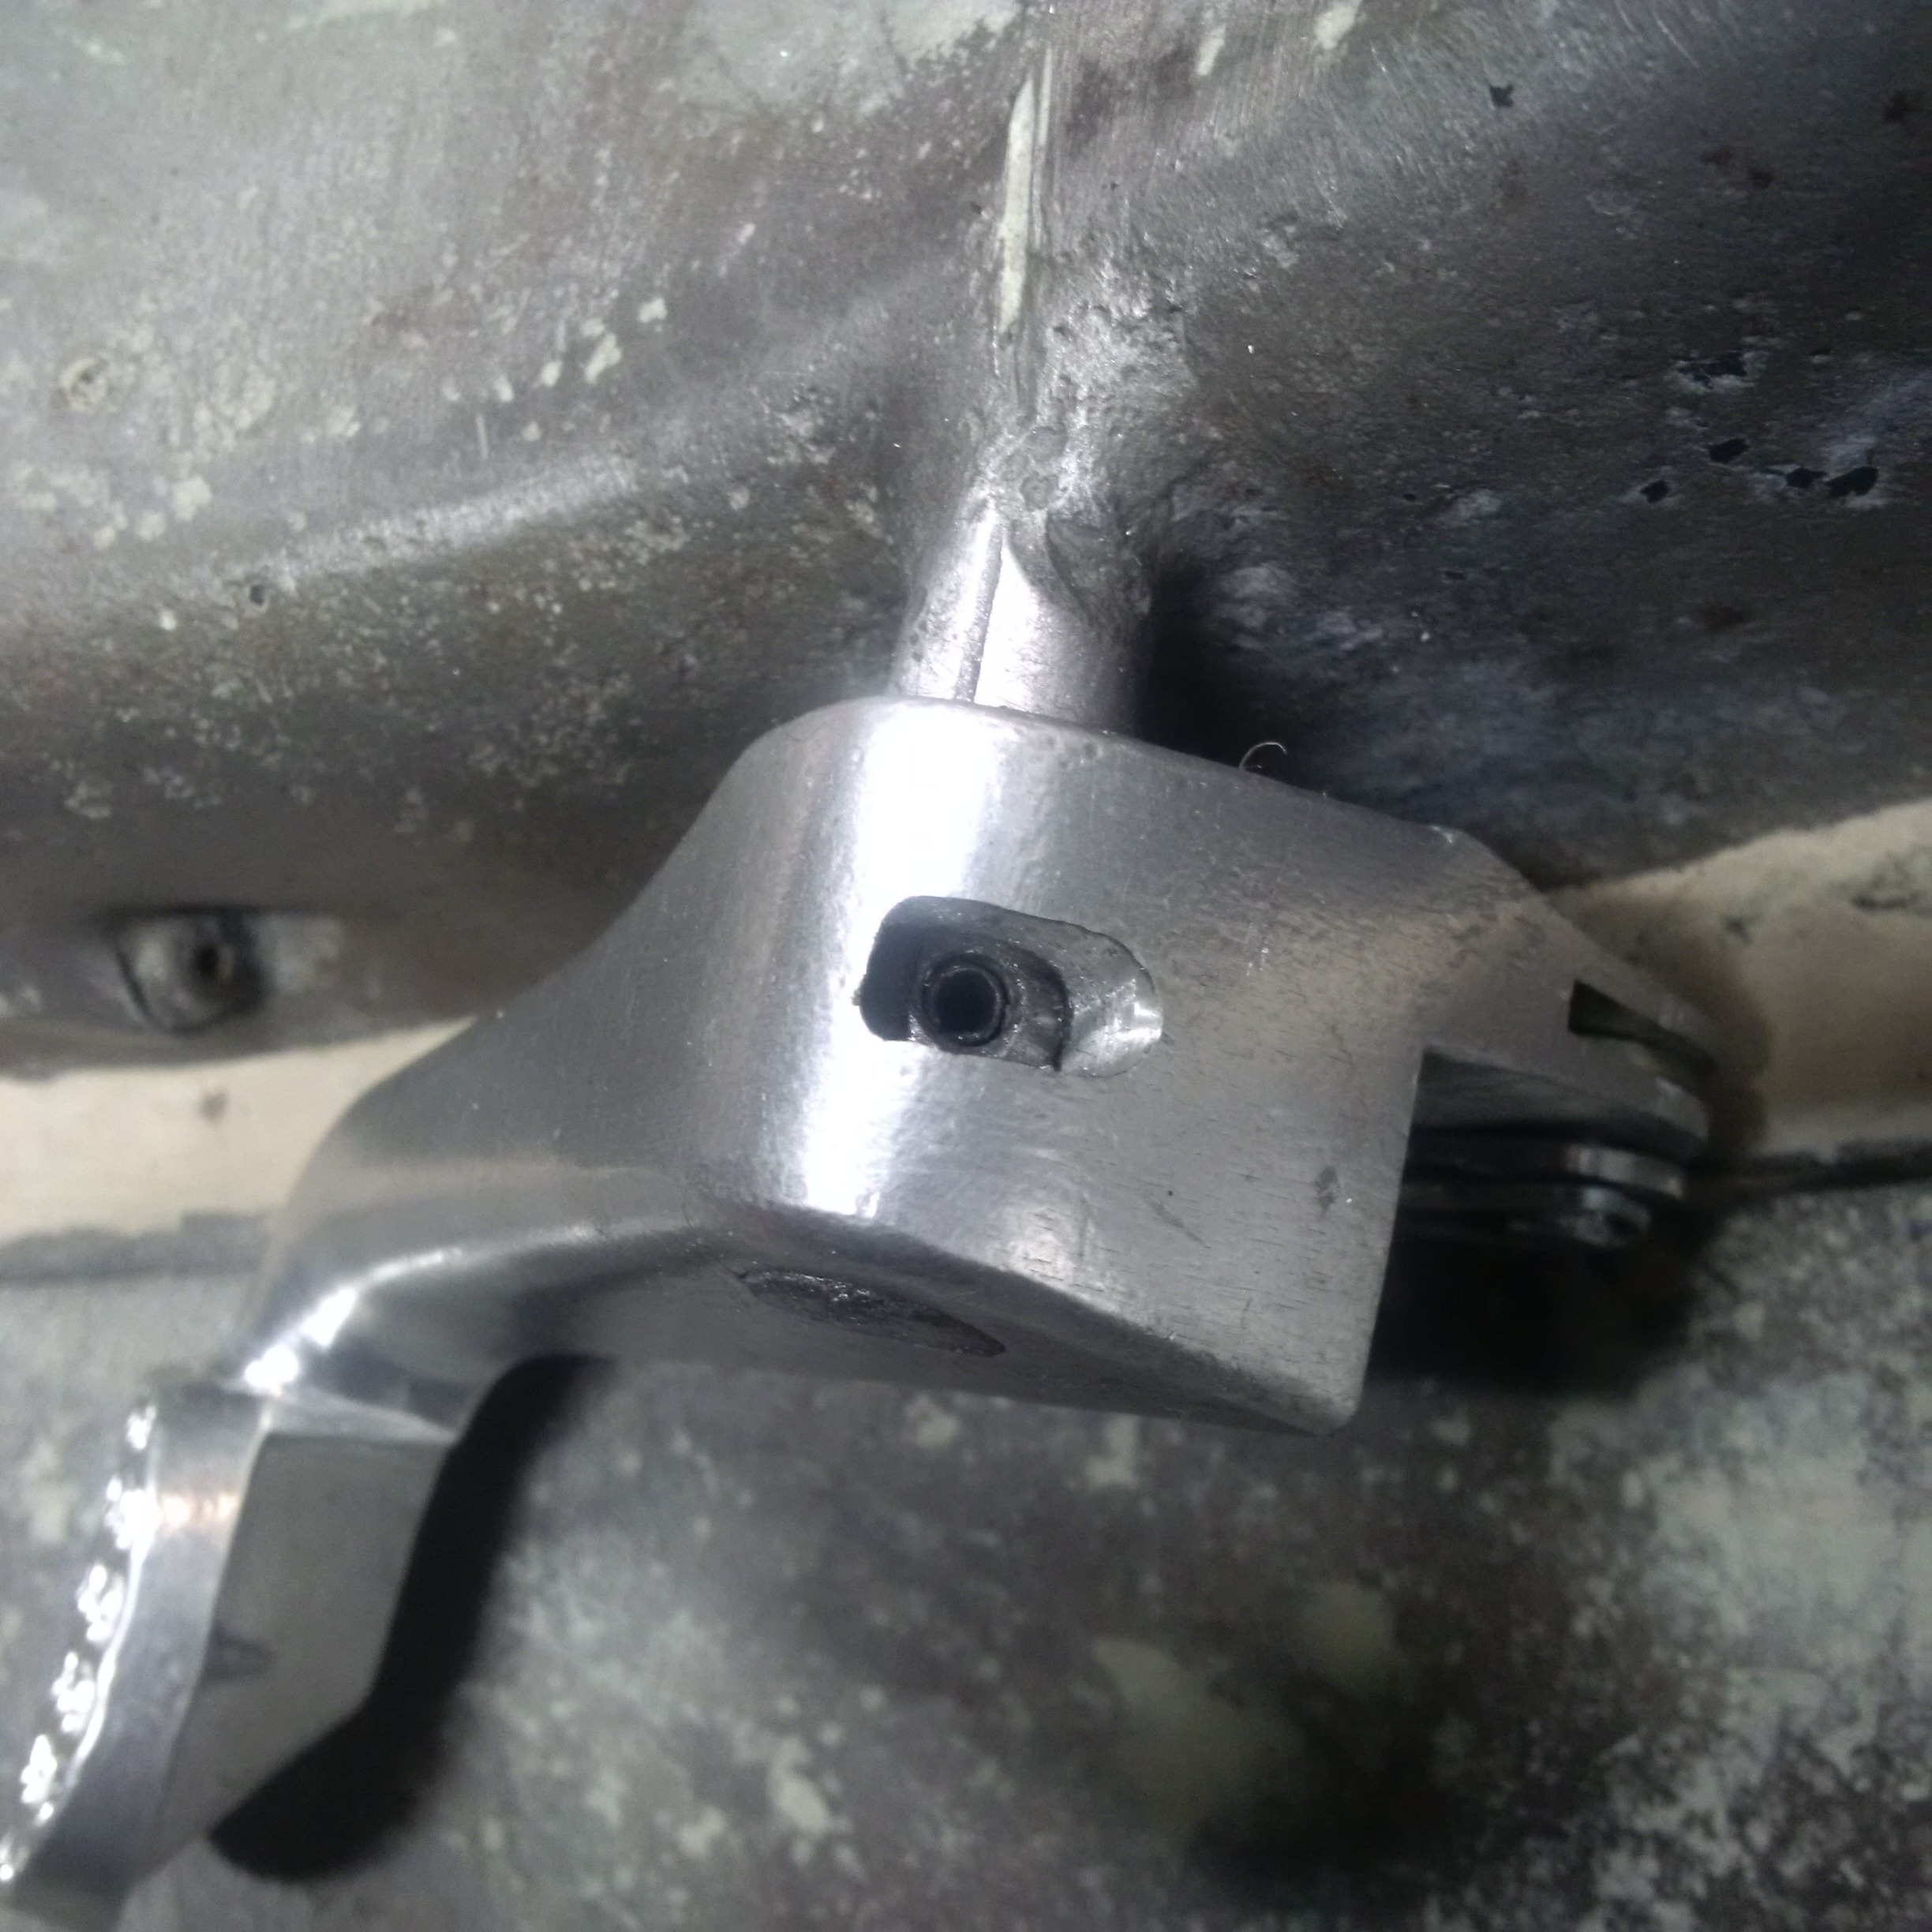
Here is the brake pedal (not correct but I like this design)
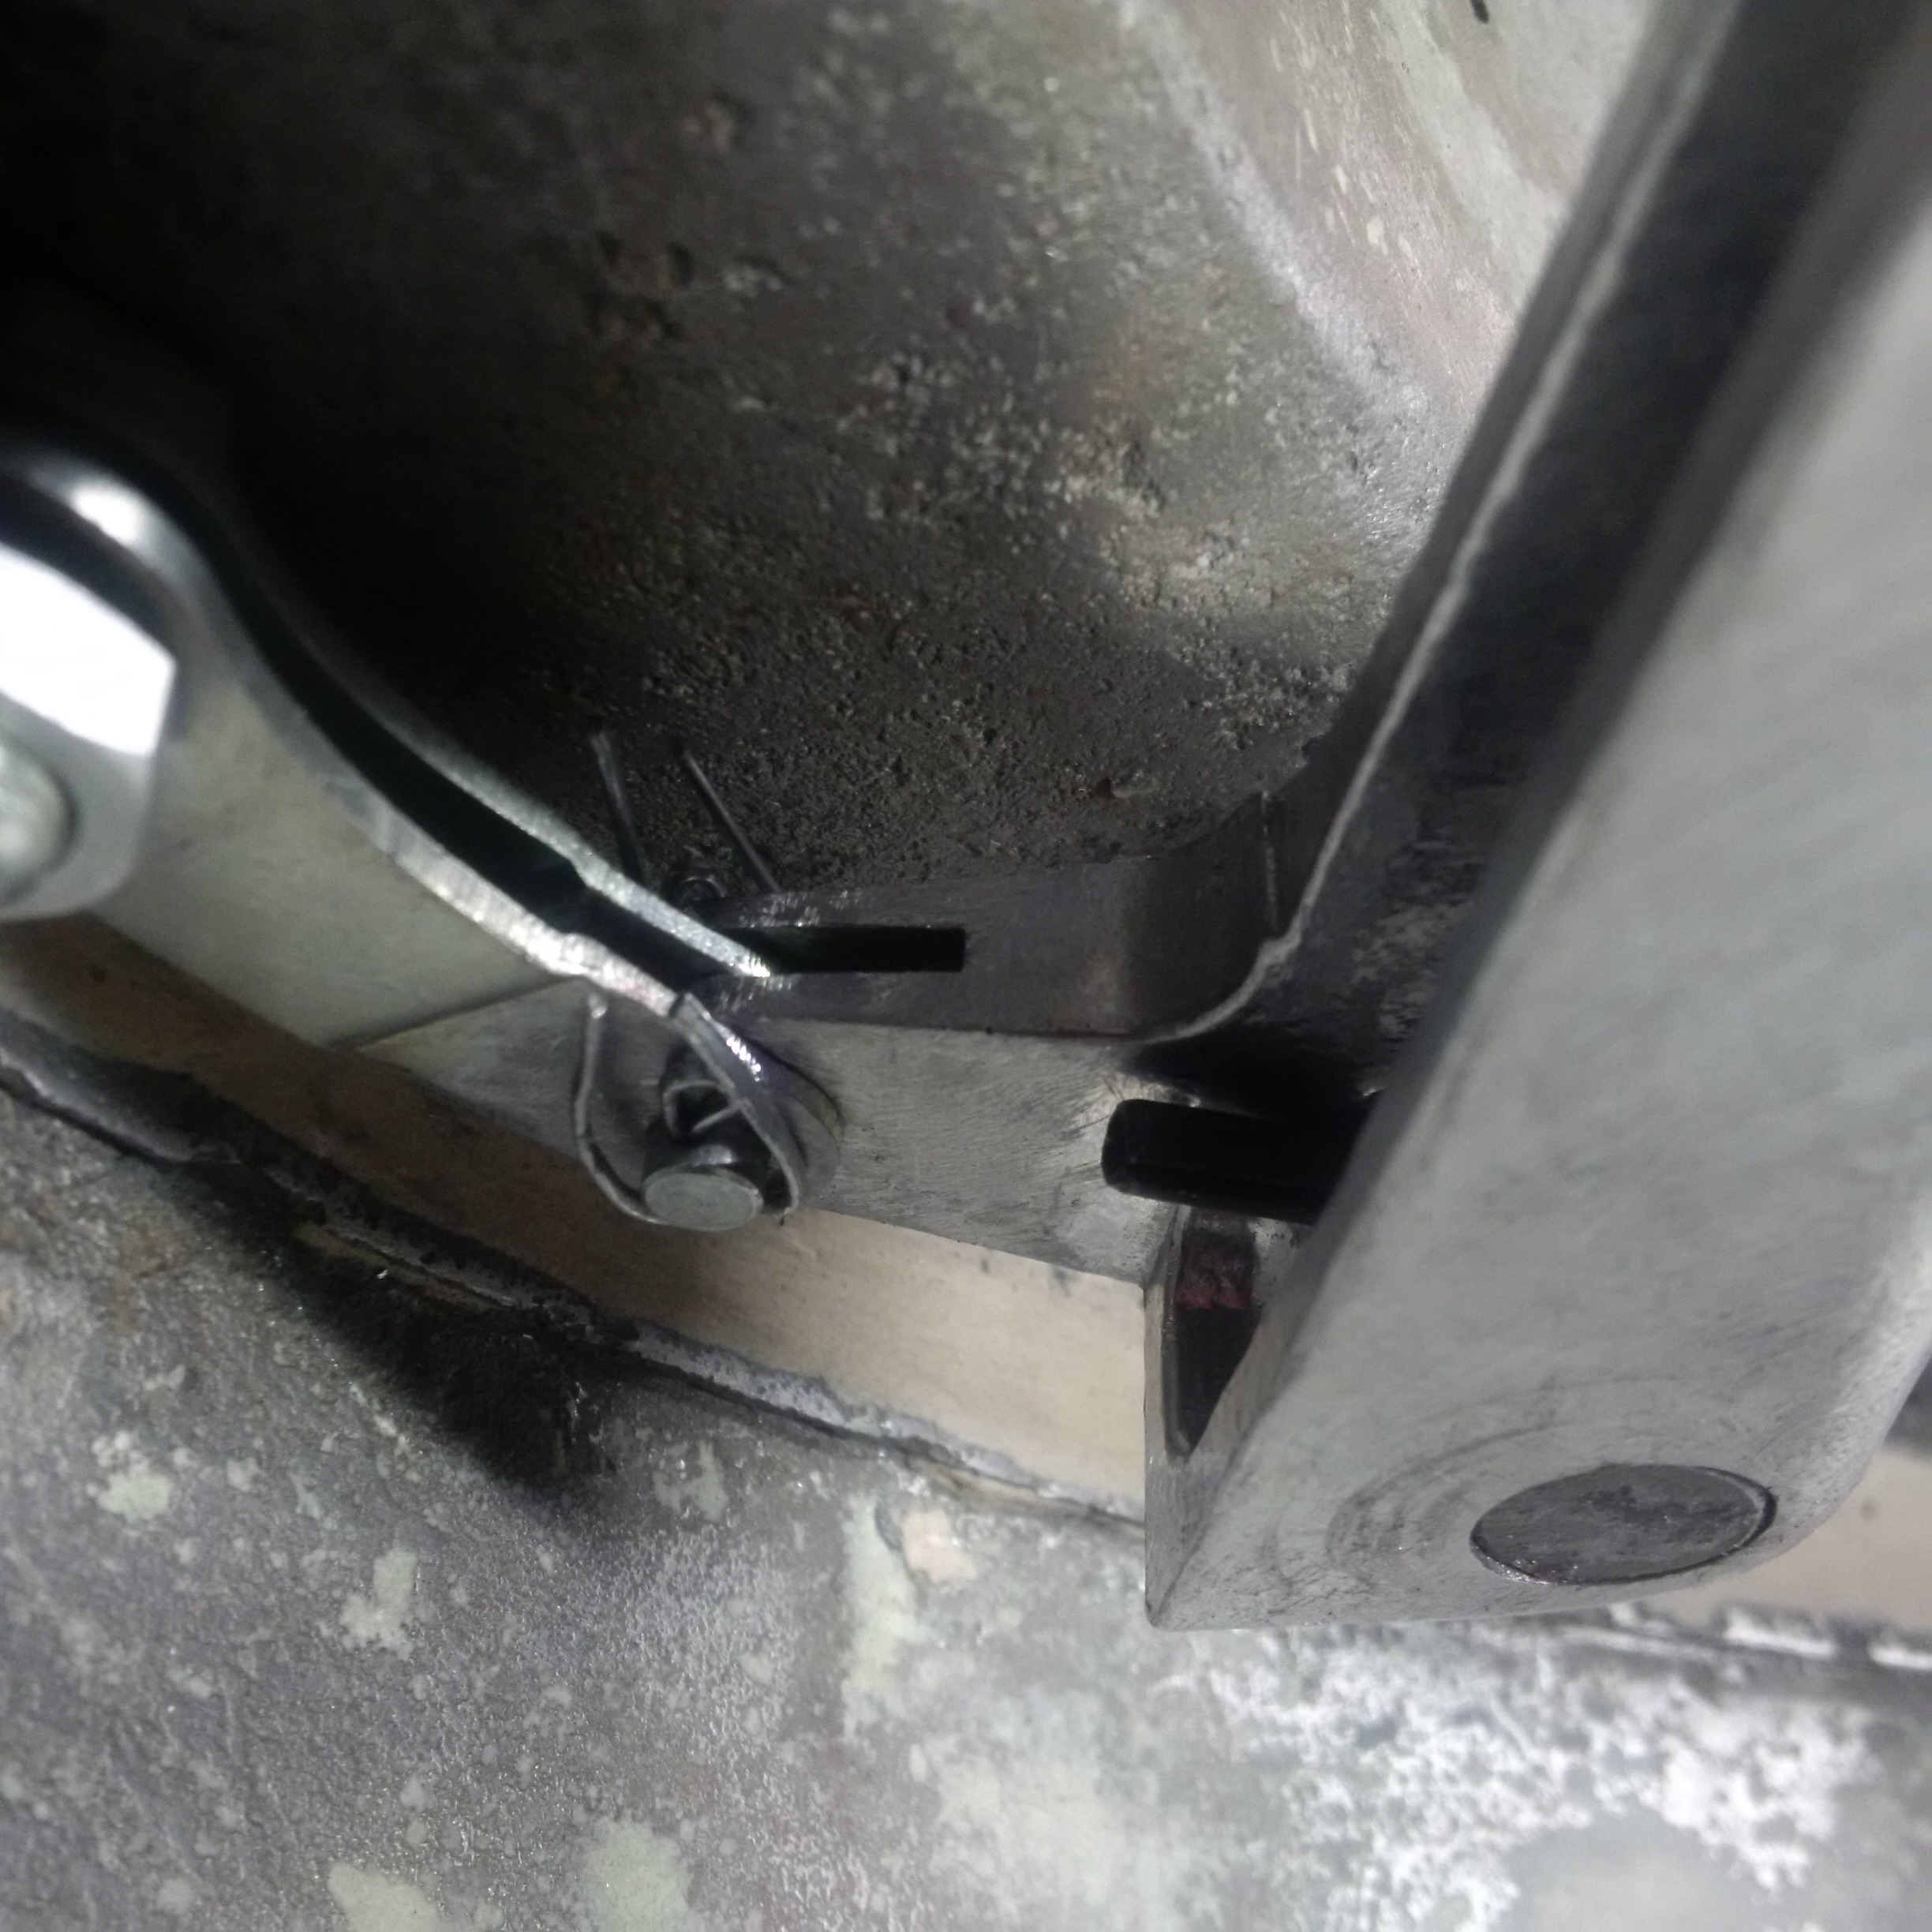
with the little pin that holds the pedal in place. The pedal can
only be rocked forward far enough to remove the pin with the floor
rails removed. That is important upon rebuild...pedal first,
floor rails second.
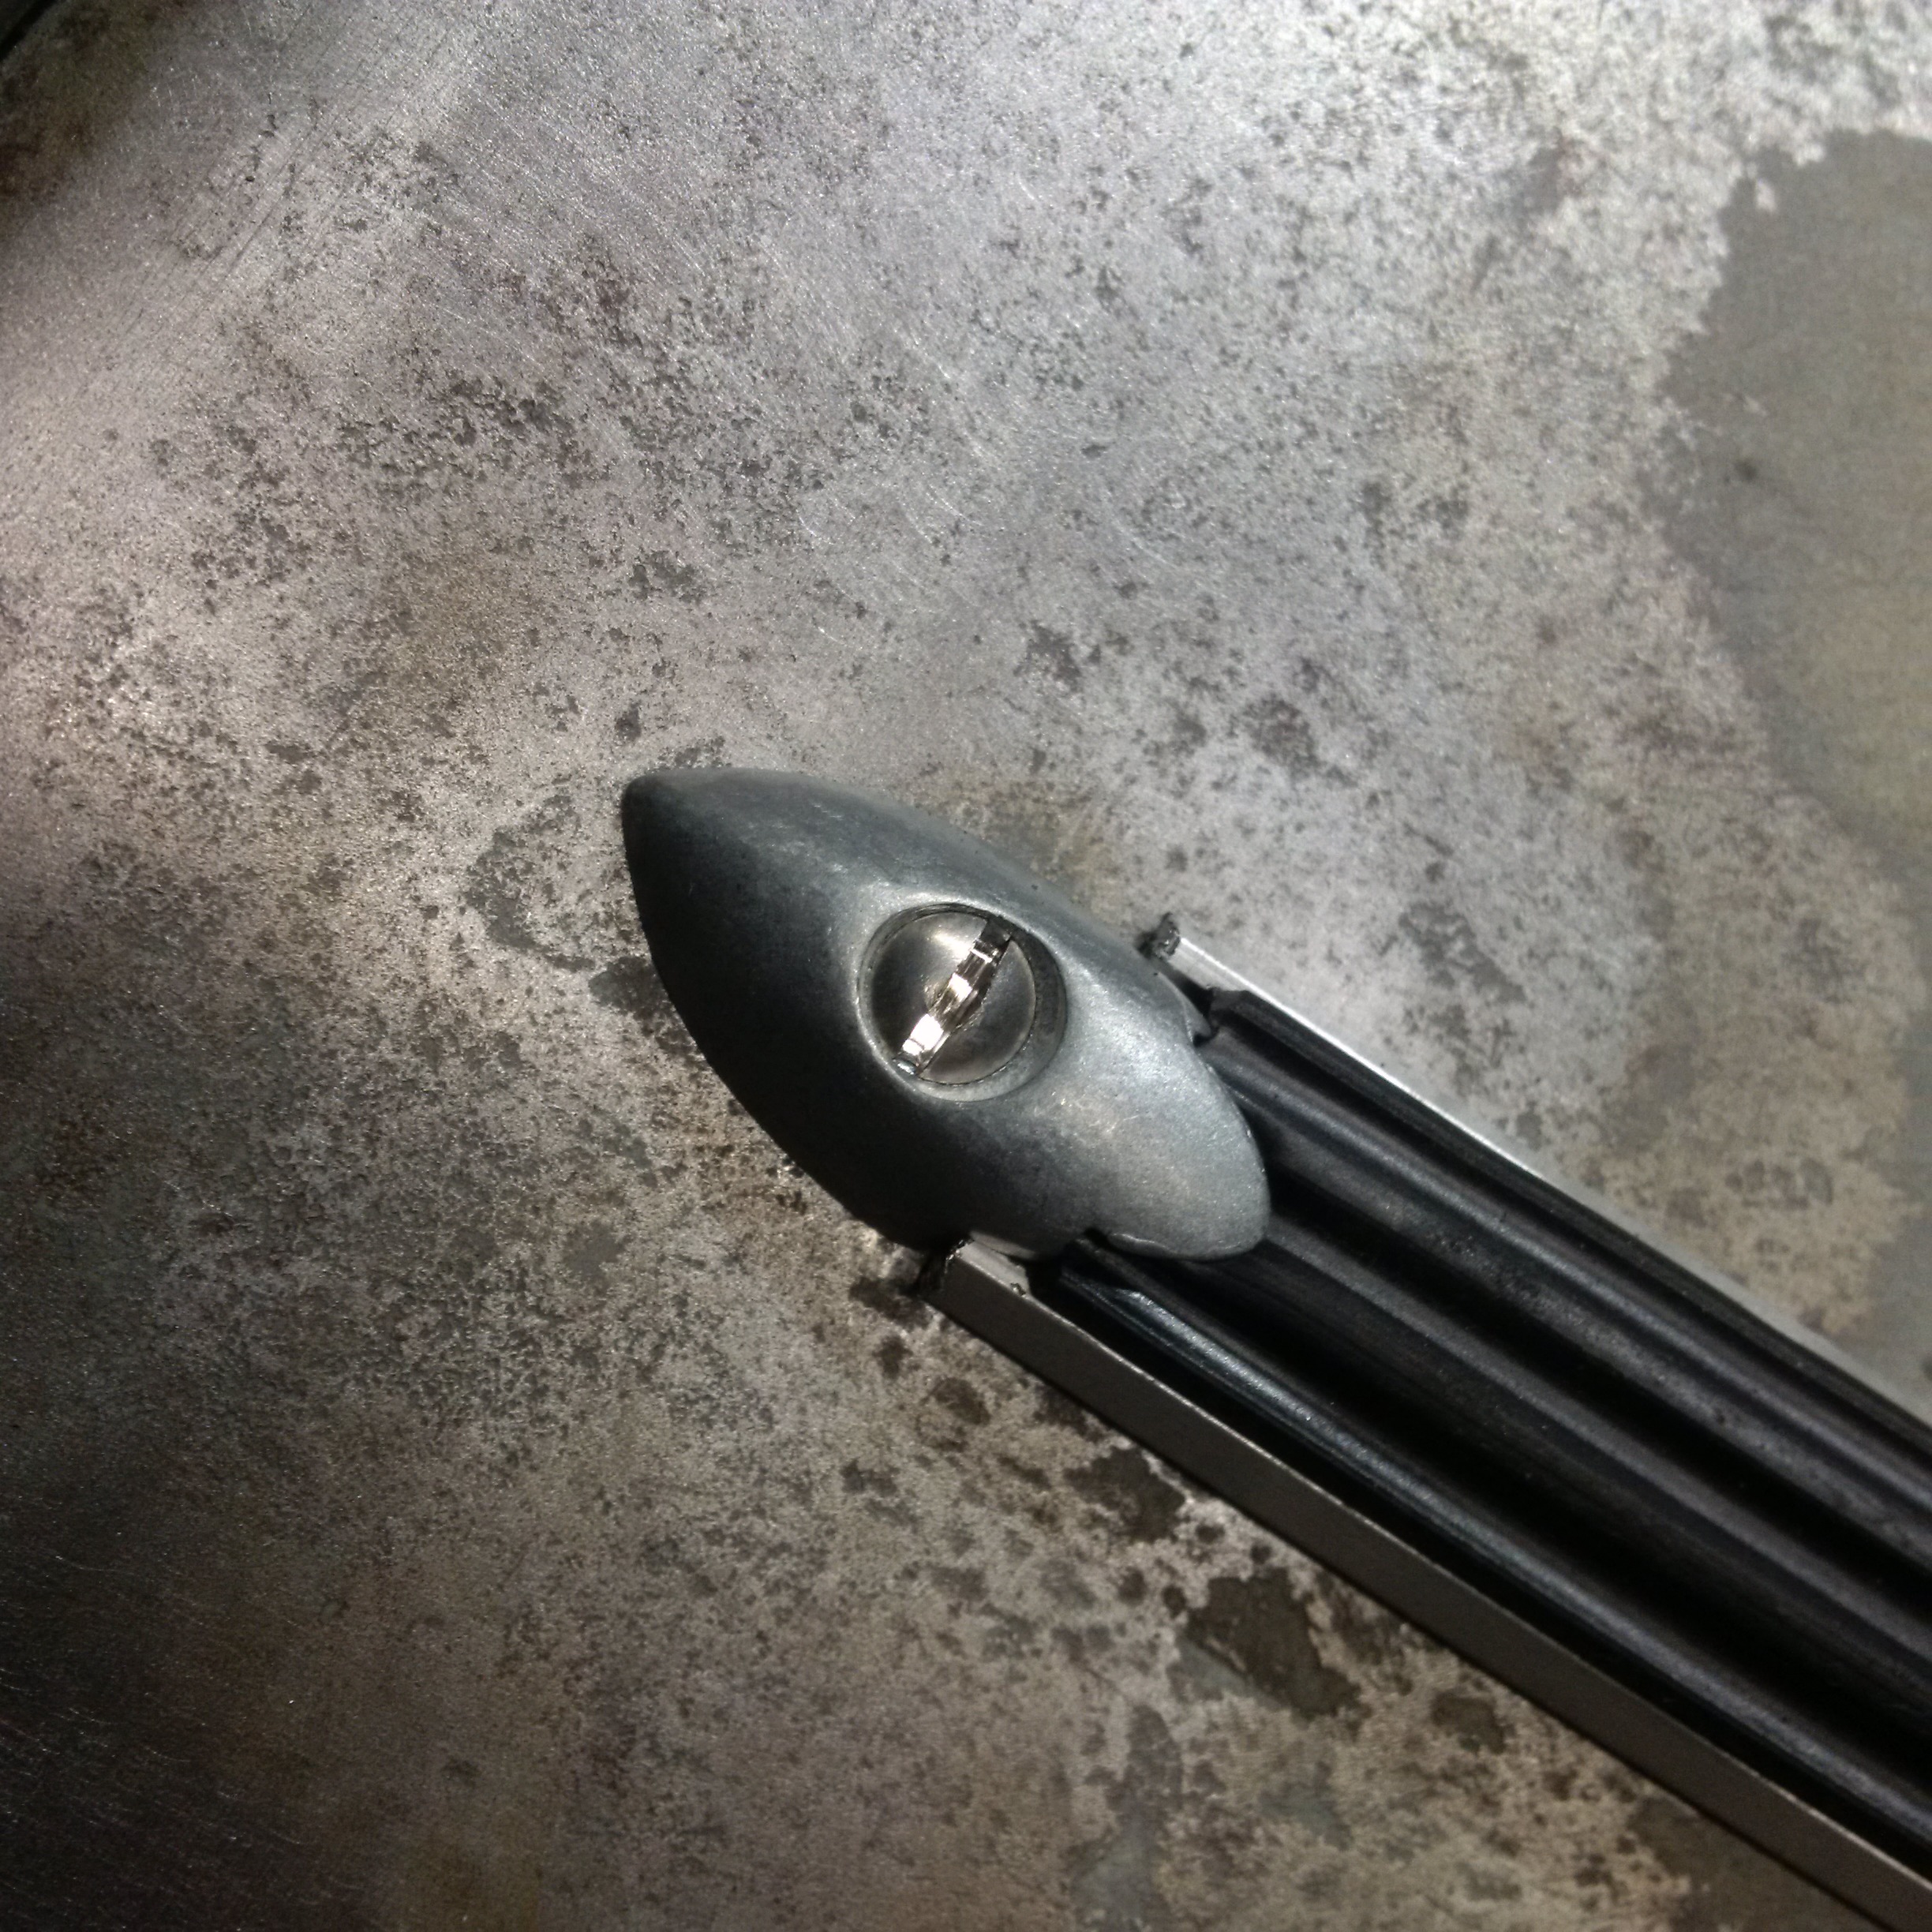
And the floor rails installed. The rivets take practice. Mine are not great but they work fine.

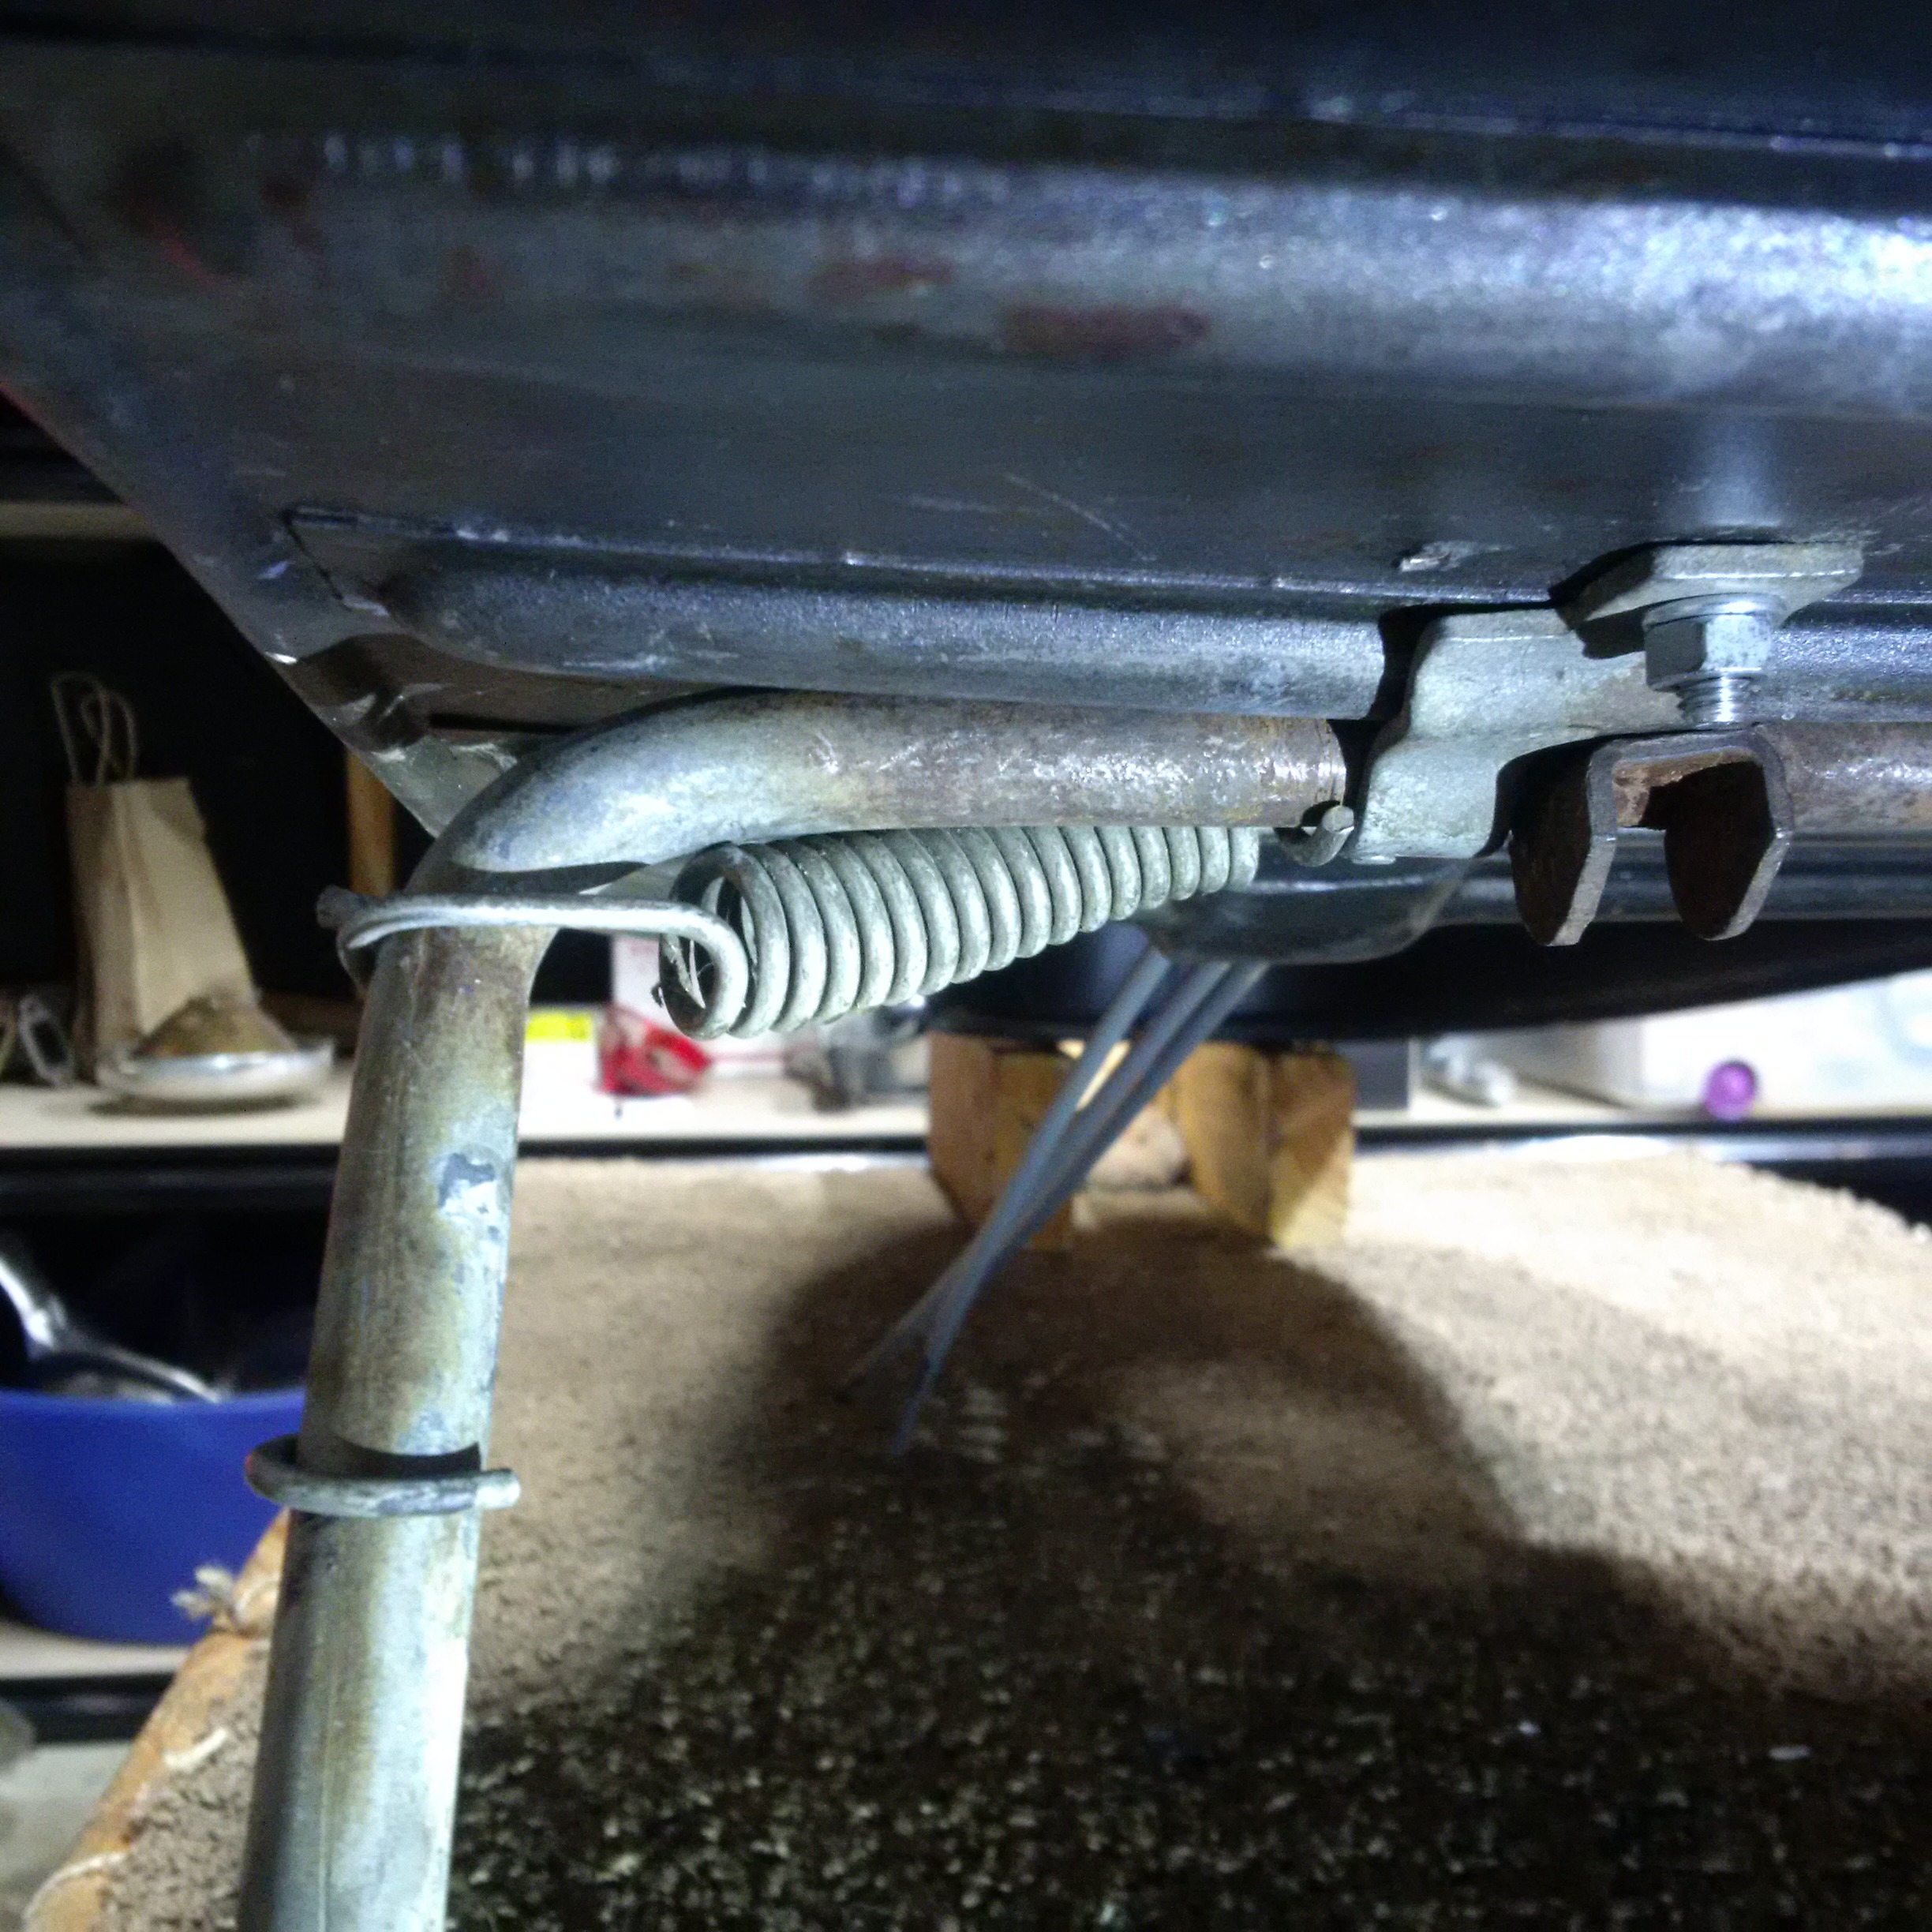
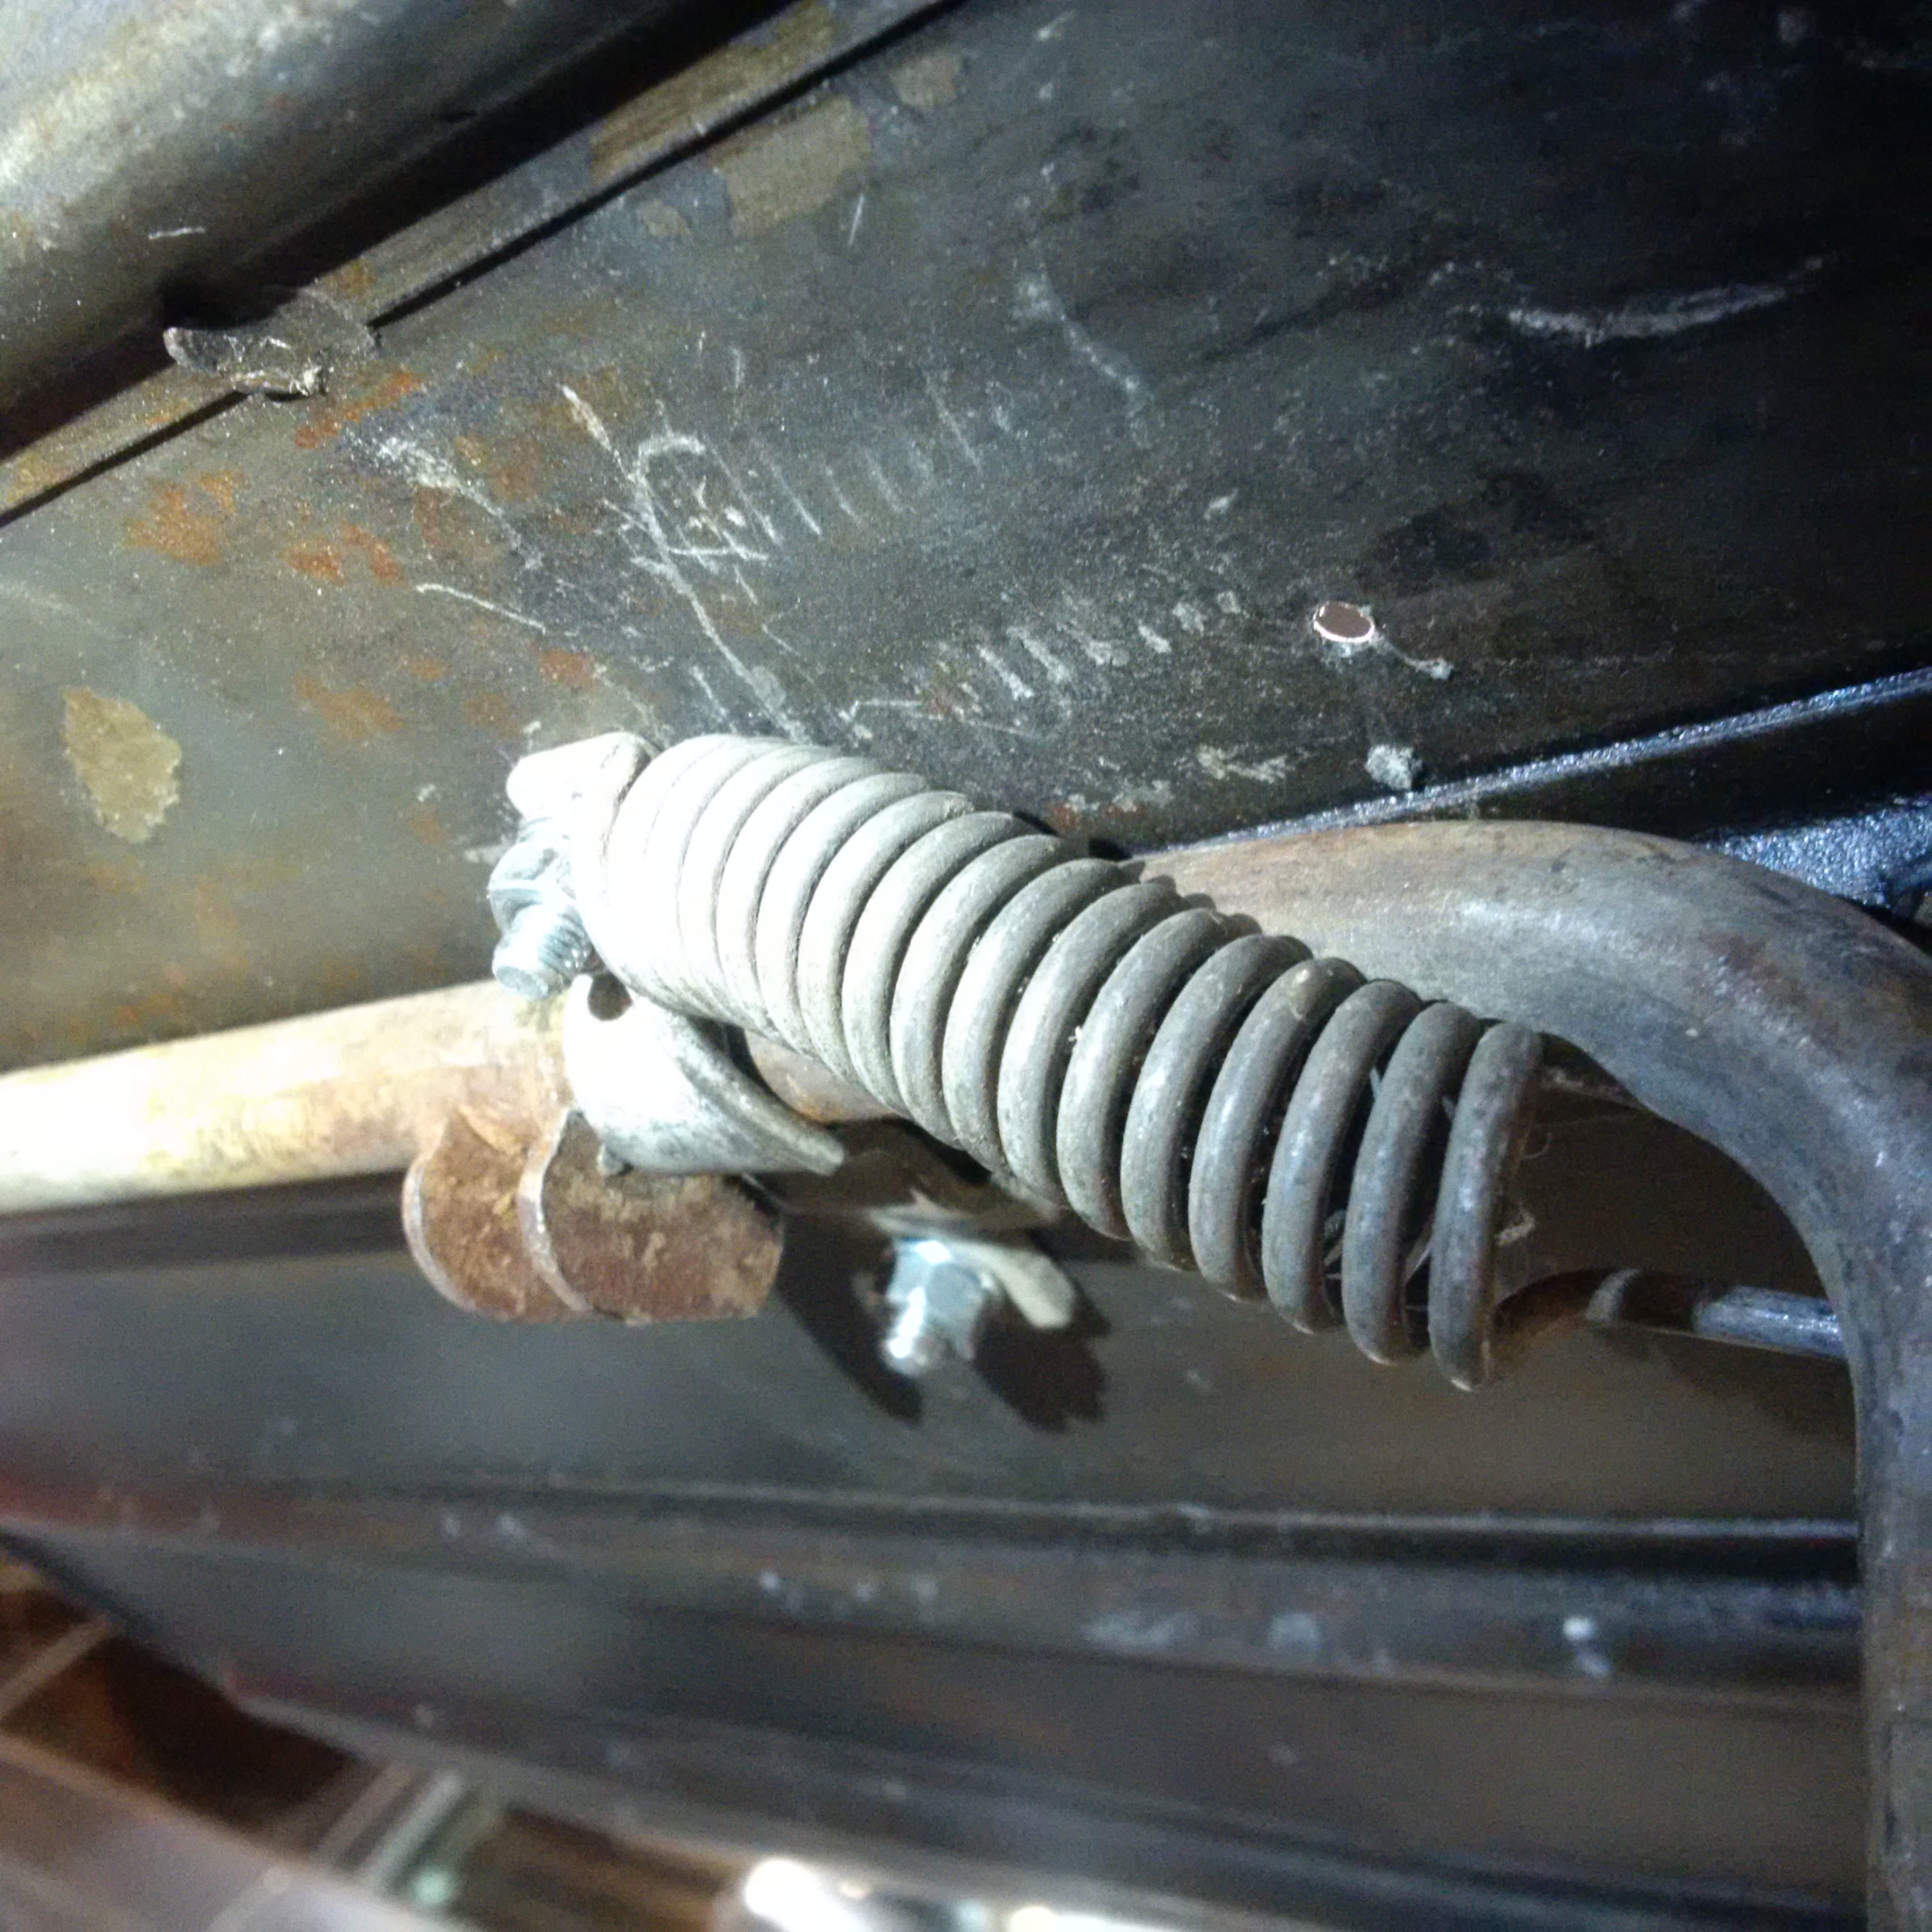
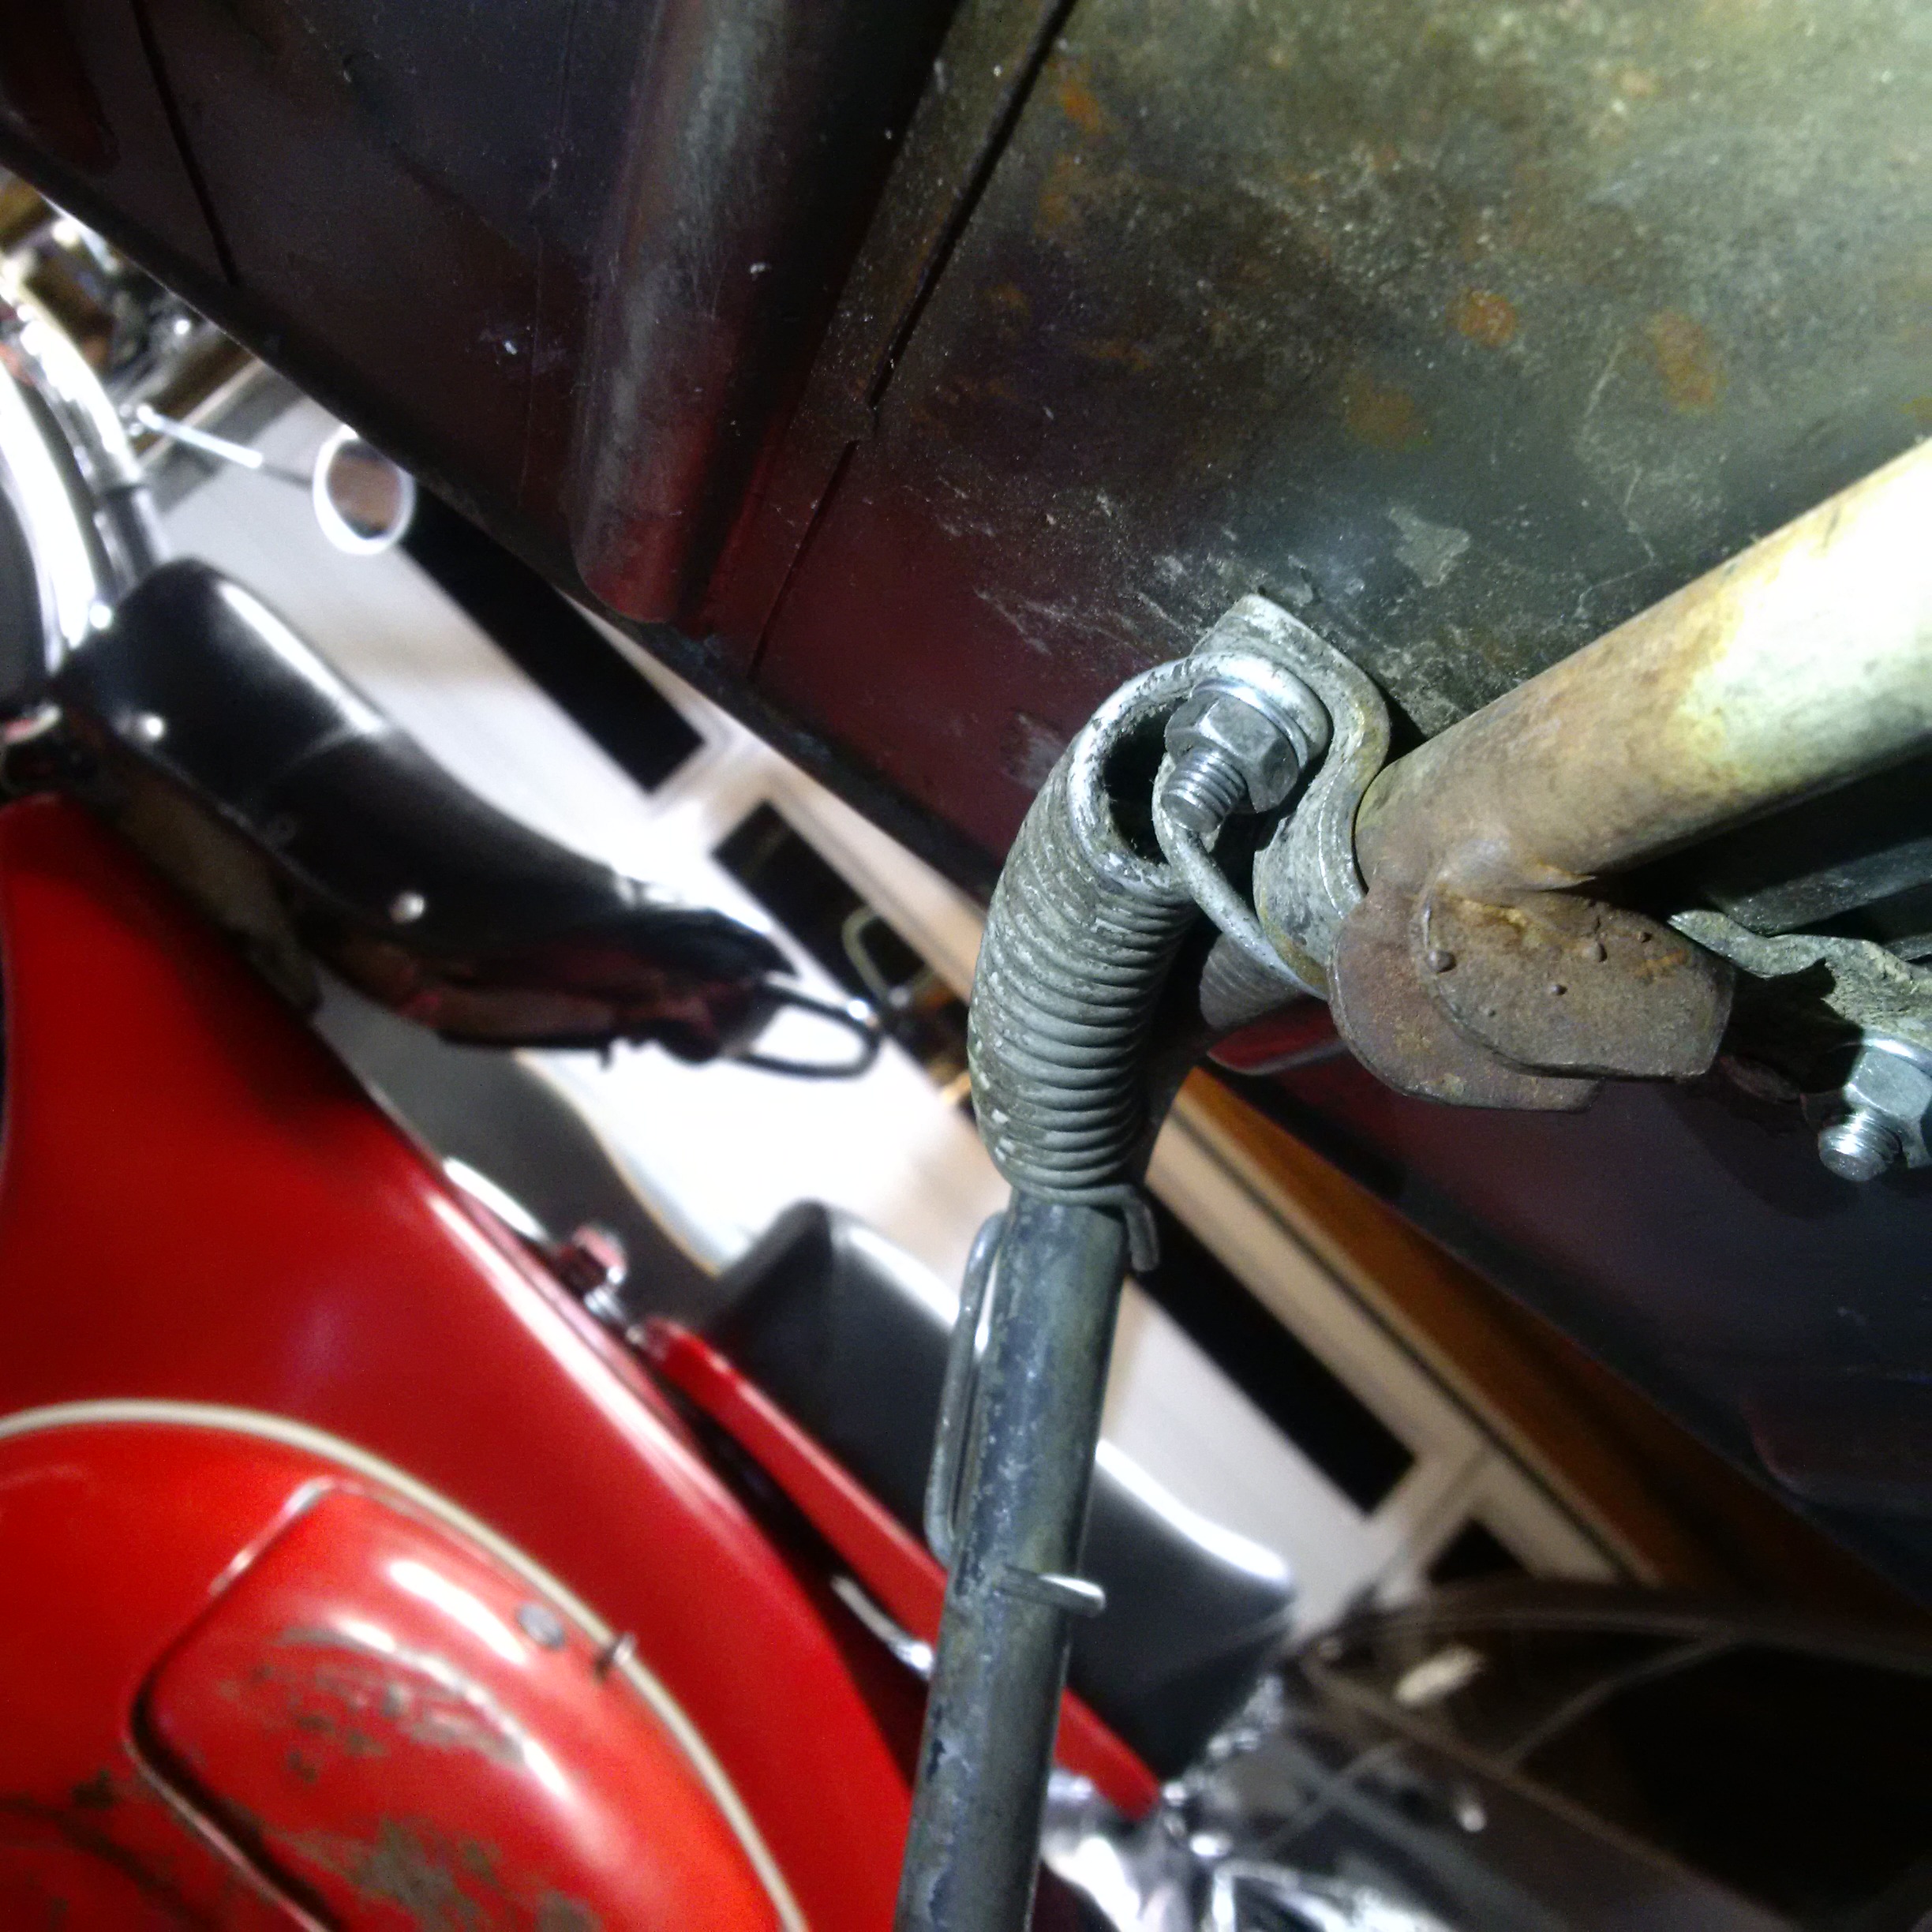
The stand feet. The spring is a bit tricky so I took
several pictures so you can get it installed properly. (That is my
Allstate in the background)
|