|
 |
 |
 |
 |
 |
 |
||||||||||||
Frame and BodyLegshield Badges |
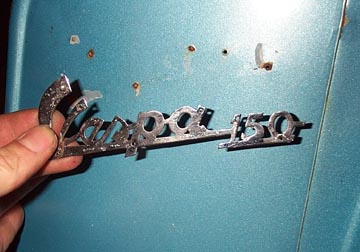
Legshield BadgesThe finishing touch on any bike is the details. This section will show how to put on an old style legshield badge using rivets. You'll need the following parts/tools:
Â
The first thing is to make
sure the holes are clean and will fit the rivets. The holes can
sometimes close up a bit with a thick layer of paint or rust but they
can be carefully cleaned out with the rivet itself. There are a series
of holes in the frame badge that will correspond to holes in the
legshield. Â
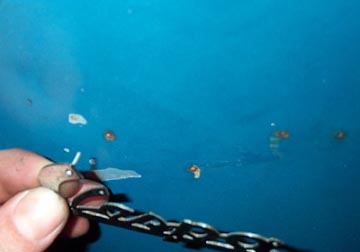
Insert one of the rivets in to
the badge and push the rivet through the corresponding hole in the
legshields. It should poke out the back side about 1/4" which will have
to be trimmed before it is hammered flat. Â
Here's a shot of the rivet
sticking out the area where your knees go. Go one rivet at a time. Â
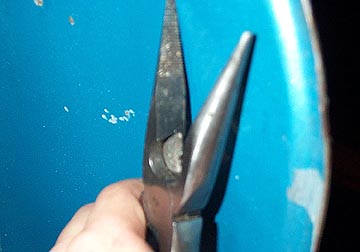
Trim the back of the rivet
with pliers so that you leave less than 1/8" showing. Be sure to push
from the badge side before cutting to be sure the badge is firmly up
against the sheet metal. Â
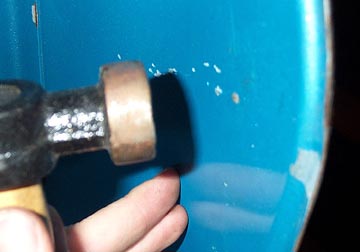
Using a hammer and steel block, carefully mushroom the end of the soft rivet. The steel block should be held tight against the head of the rivet while you carefully tap from the inside. The soft rivet will flatten out and firmly hold the badge in place. Next Section --> |
|||||||||||||||||