Aluminum Parts
I wanted a nice chrome light
for my tail light and I originally thought I would chrome the one I
had. After asking a few questions on the BBS I realized that I might be
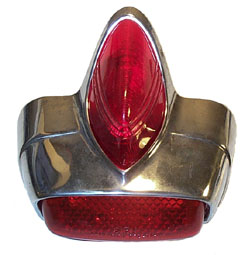
able to resurrect the rare VBA tail light I had with a little help.
Older tail lights on Vespas
are made from cast aluminum (sometimes called "pot metal") and on my
bike it was actually painted too. Aluminum does get a pitted surface
over time and oxidizes if not properly maintained but it can also be
polished to a mirror like finish.
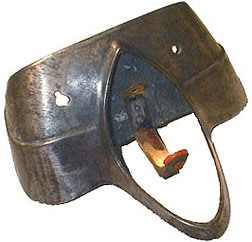
The biggest problem with this
tail light was the two holes that someone had drilled in the top face.
I needed to fill them with aluminum so that once it was ground flush
and polished the repair would not be visible. I took the light to Weiss Welding in San Francisco and for only $25 they
filled the holes and left them a little proud of the aluminum face (see
below).
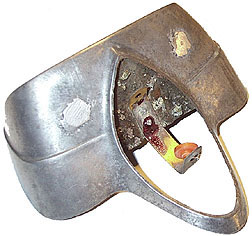
I started removing the extra
weld with a flat hand file and when I got it close to the original
aluminum I switched to 200 grit sandpaper on a block. The block is
important because if a block is not used your fingers will follow the
high and low spots instead of just hitting the high spots. After it
looked pretty good I went down to 400 grit and then sanded the entire
light with 600, 1000 and finally 1500 (see below).
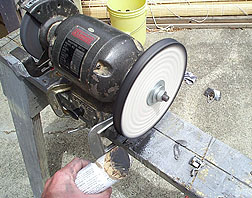
I bought two polishing wheels
and compound for a borrowed grinder at the Eastwood
Company. The first
wheel and compound is used to buff the metal while the second is used
to polish it to a final shine. The compound is solid and heats up when
added to the rotating wheel. It is important to hold the part very
securely as it can go flying in a split second. Also wear eye
protection as compound can come off the wheel in your face.
Buffing and polishing
definitely takes a little getting used to. The kit comes with very good
instructions and it doesn't take long to get good results

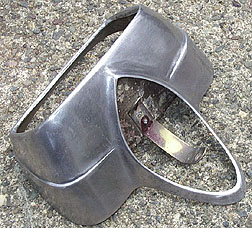
The final result below looks
almost as good as new!
|


