|
 |
 |
 |
 |
 |
 |
||||||||||||
Vespa Small Frame Engine WorkClutch Rebuilding |
Clutch RebuildUsually when the clutch is not functioning well, nine times out of ten only the plates need to be replaced. Once the clutch has been removed changing the plates and any other work is easy. You'll need:
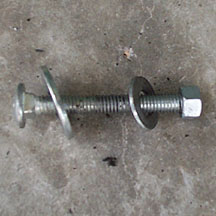
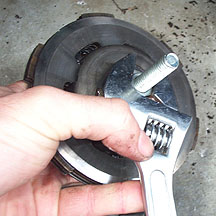
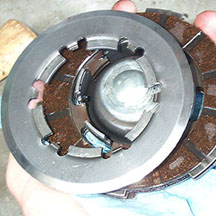
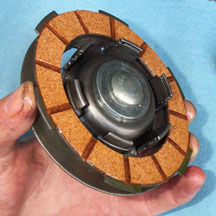
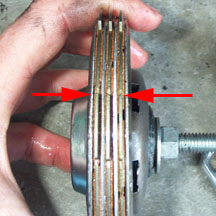
To compress the clutch you can either buy a Vespa tool or just head to the hardware shop and make one on your own. I use a large end washer, a 1/4" threaded bolt, and a smaller washer and nut. Make sure the larger washer is only making contact with the tough clutch body and not the sheet metal retaining ring as shown below. Thread it through the clutch and tighten it down with an adjustable wrench. This action compresses the central spring so that the plates can be removed and replaced.
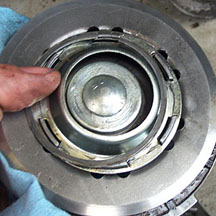
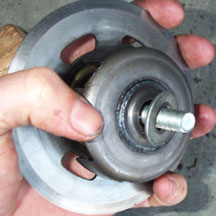
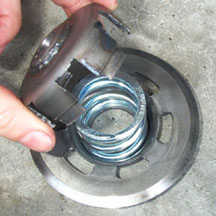
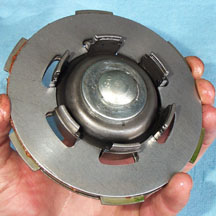
Once all the plates have been removed, flip the clutch over and decompress it. Once it is decompressed you'll have access to replace the main (and only) spring. Replace the spring, refit the compressing tool and recompress the clutch in order to fit the new plates. Make sure all the extensions on the smaller spring retaining piece pass through the final plain plate.
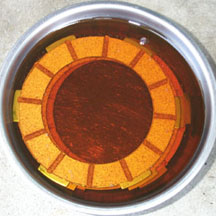
Always soak the new clutch plates in 30W transmission oil before fitting them, otherwise the clutch will be very jerky and the plates will take a while to get covered in oil from the transmission gears. It can also damage them by the excessive heat that may build up on dry plates. Fit the first cork plate against the staionary steel backplate...
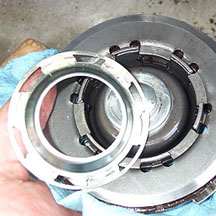
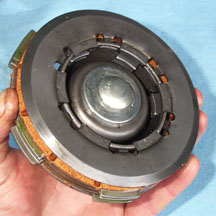
...followed by a plain plate, and then keep alternating until you fit the final beveled plain plate. This plate should stop short of resting against the last cork plate because the clutch is still compressed. Finally, fit the metal collar peice followed by the retaining ring.
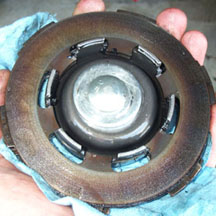
Make sure that all the tabs of the cork clutch plates line up as shown in the image to the left. This is important because it is essential to an easy fitting of the clutch unit back in the bike. Once you are happy everything aligns, remove the clutch compressor tool and we can move on to fitting the clutch back in the bike. Click here to see how to reinstall the clutch. Â Â |
|||||||||||||||||