|
 |
 |
 |
 |
 |
 |
||||||||||||
Lambretta Engine WorkGeneralLambrettaDrive Side Bearing & Oil Seal Removal Drive Side Bearing & Oil Seal Installation Flywheel Side Bearing & Oil Seal Installation Resources |
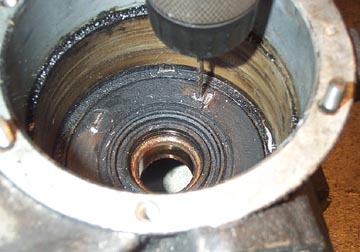
Removing a Lambretta Drive Side Oil Seal & BearingThe drive side of a Lambretta has one large main bearing and a single oil seal to stop the gasoline/air mixture leaking in to the transmission and visa/versa. The following steps are from a Lambretta Li125 Special but can be adapted to most Lambretta models starting with the Series I bikes. The images show a partially stripped Li block most components removed. You'll need:
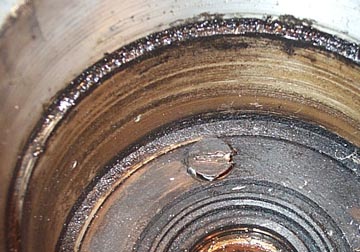
The drive side seal plate is held in place by four annoying screws. To make matters more fun each screw has been punched at the edge to stop them rotating. You can see the punches at the end of each flathead slot in the dirty shot below. 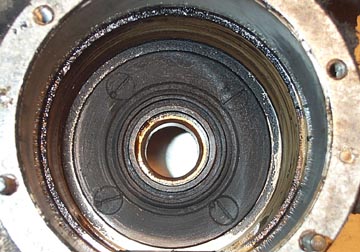
An impact driver is an imperative tool to remove these screws. The way the driver works is by translating the force of a hammer blow into a rotational force on the bit. What makes it very useful is that since you hit the top of the tool, it will turn the screw, but most of the force is downwards and keeps the bit in the screw slot. 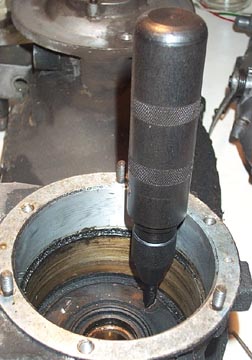 Above is a shot of an impact driver I got from Sears for $19.95. It comes with many heads and has a square 1/2" drive so it can be used with big sockets too. If you try and use a flathead screwdriver to remove the drive plate screws you are very likely to mess the heads up and make them far more difficult to remove, and possibly ruin the block. Also an extension is sometimes a good idea, as you can see that the large part of the driver can hit the mag side flange face and mark it.
The screws in this particular block showed no signs of moving even with the impact driver. I used a drill with a 1/8" bit to drill out the punch mark and help the screws be able to rotate freely. This will usually mean a new drive plate should be used because you will be drilling into both the screw edge and the drive plate. After drilling the punch marks, I heated the casing witha blowtorch to release the grip on the screws.
Using the impact driver the screws finally began to turn!
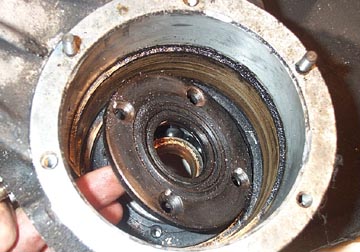
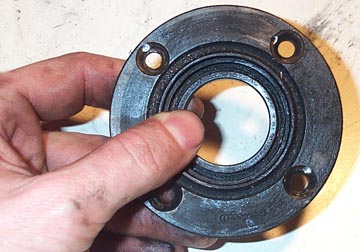
Once all the screws are removed, the drive plate and oil seal can be removed from the casing. There is also a small gasket like washer that goes in between the moving part of the bearing and the oil seal. It is usually stuck to the backside of the drive plate. Both the seal and the washer should be replaced.
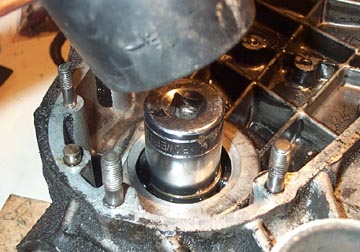
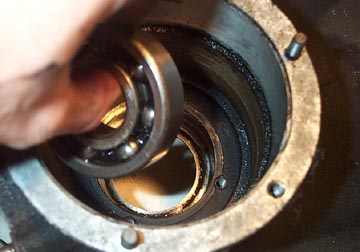
Using a large socket as a block, hammer the drive bearing out from the outside face of the casing. Heat up the casing around the bearing with a blowtorch before you bang it through.
The bearing will then drop out of the crank side of the casing and can be cleaned, inspected, and possibly replaced.
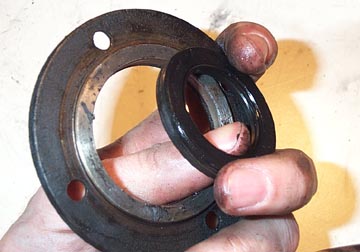
The oil seal is a press fit in the drive plate. To remove it simply push it out towards the back side of the plate away from the face with the countersunk holes in it....
...and it should push right out. Next Section --> |
|||||||||||||||||