|
 |
 |
 |
 |
 |
 |
||||||||||||
Lambretta Engine WorkGeneralLambretta |
Removing a Lambretta crankThe Lambretta crank is a pretty cool design. It just clears the casing when removed and comes out only at a funny angle. This section assumes you have already removed the flywheel, barrel, piston, and the gearbox side crank gear and cush-drive. You'll need:
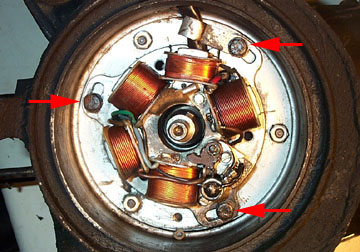
First, scribe
a line between the stator and the casing to align the stator when you
rebuild. This will mean that you won't need to do any timing
adjustments when rebuilding (assuming the timing was correct to start
with). Remove the three 10mm bolts (arrowed) which hold the stator
plate in place and the stator will come loose. Look on the top side of
the mag housing and you'll see where the stator wires exit the casing.
Unscrew the two small flathead screws to release the wires and pull the
whole stator off the casing.
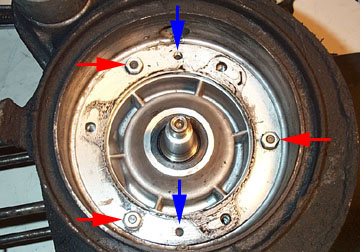
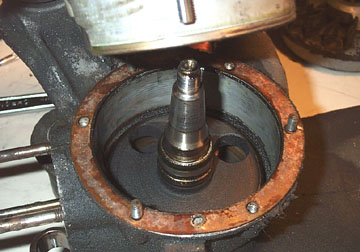
Remove the three 10mm nuts (red arrows) and washers which hold the mag flange to the main casing. The mag flange is a very tight fit in the casing and the flange will not come off with only these nuts removed. The blue arrows show two threaded holes which are used to force the mag flange away from the main casing.
Insert two 6mm bolts into these holes and tighten them both equally by hand until they stop. Then start by tightening each one a full turn and then switch to the other and do a full turn. This will force the mag side off squarely in relation to the main casing.
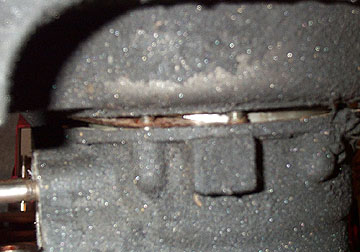
If you look underneath the engine while you are doing this you'll see the mag flange start to separate from the casing.
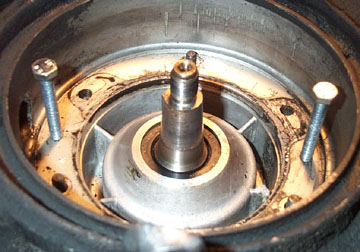
Once the bolts have pushed the flange far enough, you'll be able to fully remove the mag side flange and inspect the oil seals and bearings for wear. Discard the gasket between the two pieces as you should always use a new one when rebuilding.
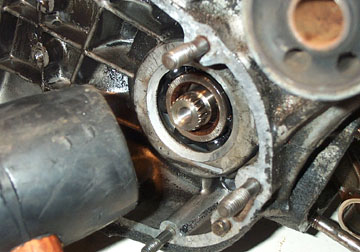
Flip the engine over and locate where the crank end is visible through the main bearing. Turn the crank to bottom dead center (BDC). BDC is when the big end of the con rod is closest to the rear wheel so that the amount of con rod visible past the crank web is the shortest. This is important as it is the only way the crank will fit out of the main casing. Once you have the crank at BDC, gently tap the end with a plastic or rubber mallet, or a hammer using a block of wood to protect the end of the crank.
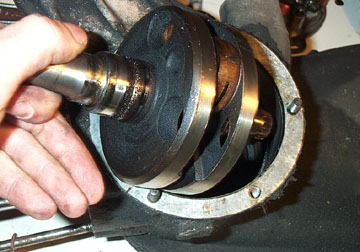
Once the crank starts to move back through the main bearing, be sure the con rod is moving into the left hand side transfer space and not jamming on the casing. Once the bearing side is free the whole crank needs to be rotated out of the casing around the con rod axis. This will make more sense once you get to this step.
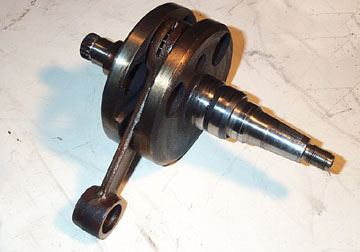
The crank should now be free and can be inspected for wear or completely replaced. Next Section --> |
|||||||||||||||||