|
 |
 |
 |
 |
 |
 |
||||||||||||
Electrical |
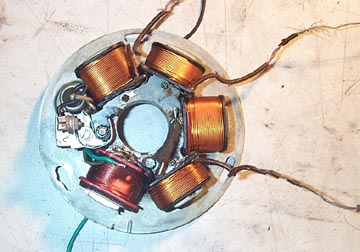
Stator RewiringWires on a stator have a tendency to go
very brittle over time and the outside insulation can crack off and
create a short. Replacing the wires is cheap, pretty easy to do, and
will resurrect a stator in no time. You will need:
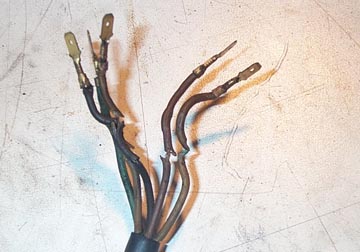
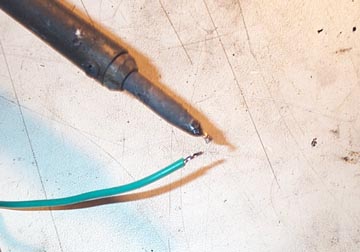
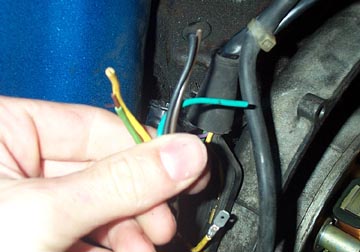
The wires in the above shot were fine in
the bike, but when the stator was disturbed to remove it, the outside
insulation cracked every time it was bent. You might be able to get
away with electrical tape around the broken areas above, but...
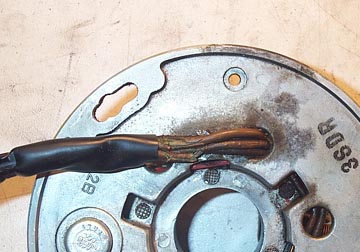
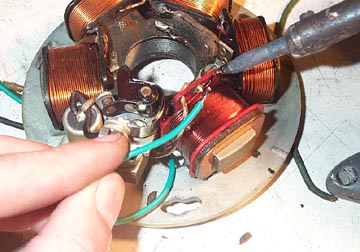
..further inspection showed the wires
were also cracked at the stator plate.Tis means they should be replaced
completely.
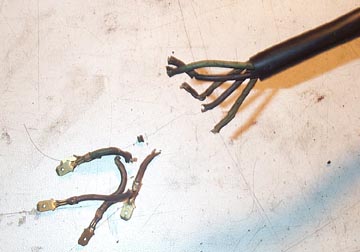
The first step is to clip the ends off
the old wires. This will allow you to slide the remaining wire back out
through the black wire casing. On some stators the black casing is held
in place with a small zip tie which should be cut off.
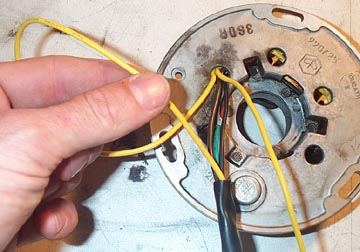
Slide the black wire casing to expose
the wires. This is can also be handy because sometimes the wires at the
connection end have really lost their color. On this Vespa P125X
stator, the two yellow wires had turned to brown at the junction box,
but were still yellow under the wire casing.
Trace the wires back to where they are
soldered to the coils. Sometimes wires pass under another coil before
they exit from the back of the stator. If you have any doubts about how
it all goes back together, make a little diagram showing what connects
to where as you take it apart. It wasn't necessary to rewire the
condensor or points on this stator but the same idea as the following
wire replacements apply.
Cut some 18" lengths of wire in the
correct colors, strip one end, twirl the end together, and use some
solder to get a thin coating of it over the end. This will make it
easier to connect it to the coil.
Use the soldering iron to melt the blob
of solder where the old wire connects to the coil. Gently tug on the
old wire as you melt the solder and it should pull away. When it is
free use the new wire and attach it in the same location. For now leave
all the wires free rather than routing them through the stator hole.
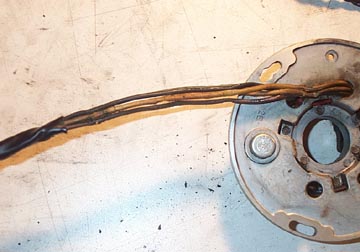
Once all the wires are connected, run
them in the same manner as the ones you removed. Once they are passed
through the stator holes, thread them in to the old black wire casing.
If you want to you can use a new small zip tie to cinch it up once all
the wires are through.
Refit the stator with the long wires
coming out through the casing hole. Since I used 18" lengths there was
more than enough sticking out at the junction box. Using a crimp tool
and the new spade connectors, carefully determine how much you can cut
off each wire so that the connector will reach the existing female
connectors in the junction box. Strip off about 3/16" of the insulation
and crimp the spade connector on. Please note that since the stator was
installed before the wires were crimped you can run in to some
problems. If you use bigger than normal connectors you may be unable to
remove the stator in the future. I found that Radio Shack connectors
(part# 64-3132) with the plastic casing removed were a perfect match to
the originals.
|
|||||||||||||||||