|
 |
 |
 |
 |
 |
|||||||||||||
BrakesVespa Rear Brake Change Lambretta Rear Brake Change Vespa Front Brake Change Lambretta Front Brake Change Vespa Disk Brakes Resources |
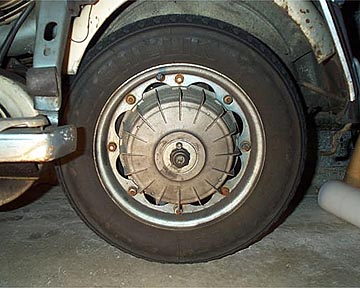
Lambretta Rear Brake Change - Series I-IIIThe rear brakes on a Lambretta are easy to get to thanks to the single sided engine swing arm. To replace the shoes you'll need:
The first thing to do is remove the left hand side panel to allow access to the rear hub nut. There is a retaining ring around the nut which locks it and stop it from rotating.
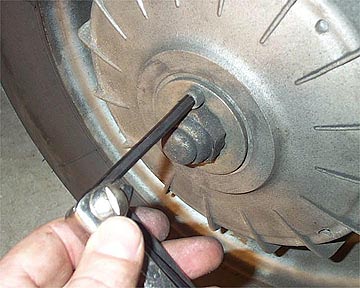
Use a 5mm allen key to remove the small retaining ring as shown below.
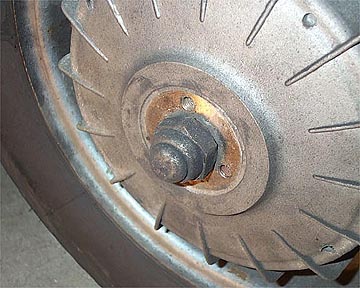
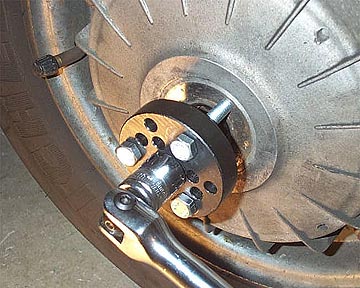
Once the ring has been removed the rear nut can be loosened. It is very helpful to have someone apply the rear brake to stop the wheel from turning (unless the brakes are so shot that is the reason for the change). The rim can remain on the hub because the whole assembly can be removed as one.
Be sure to save the thin washer that goes between the hub and the axle nut.
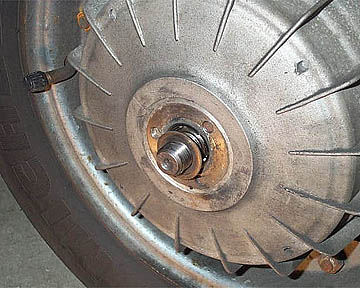
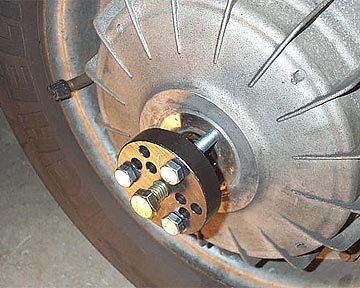
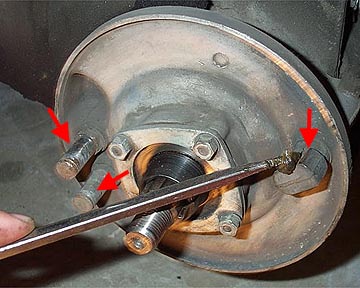
A Lambretta rear hub puller is a cheap tool but is very necessary. The hub fits on a conical section of the axle and can be as tough to remove as a flywheel off a crank. This tool threads into the three retaining ring threaded holes, and has a central nut which pulls the hub off the axle. Thread each of the three bolts equally into the hub so that the round plate is square against the hub.
Before continuing, place something like a toolbox, jack stand or 2x4 under the rear of the frame. You need something just large enough to get the rear wheel off the ground. Tighten the central nut of the puller against the end of the axle. The hub should come loose with a small pop.
Remove the wheel and the rim as one piece. You may need to remove the right hand side panel to allow the retaining clips on the frame (which engage with the side panel handles) to turn downwards for more room. Once the wheel is out of the way you will have access to the shoes.
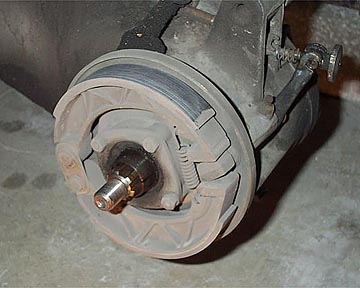
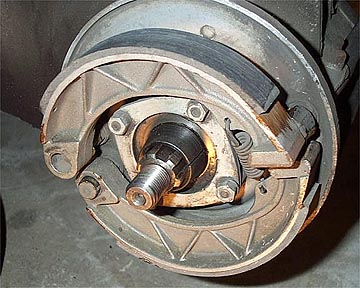
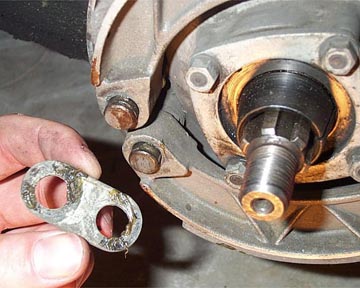
Remove the two circlips on the pivot posts. There are two oval retaining washers behind the circlips which will also need to be removed.
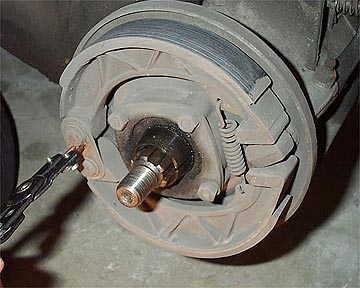
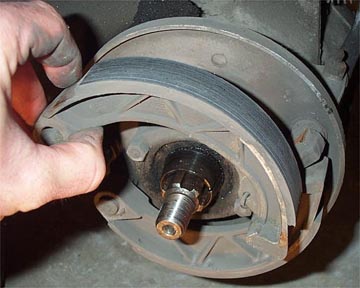
The shoes will now come off the posts one at a time. You may need to lever the operating end off the cam with a screwdriver and slide the shoe towards you. The spring will stretch enough to get the first shoe off with the second still in place. Once you have removed one shoe the other will come off easily. Clean the brake shoe area once they have been removed but be careful not to breathe any of the dust as it may contain asbestos.
Before installing the new shoes, put a dab of grease on the actuating cam, and both pivot posts. Be careful not to get too much on because if it gets on the brake shoe surface the shoes will not work well at all.
Place the new shoes on one at a time. It is easier to connect the spring before you put the shoes on. Once the first shoe is on, stretch the spring and install the second.
Add a little grease on the inside face of the first retaining washer. Add the second retaining washer and reinstall the circlips.
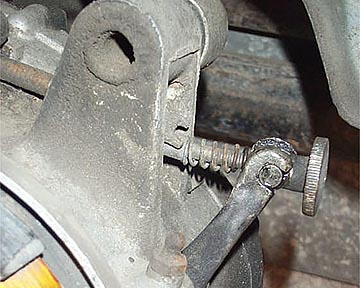
Often the old brake shoes are so worn that the brake actuating cam has been adjusted too far for the new shoes to fit inside the hub. Using your fingers, loosen the rear brake adjuster until the cam lies flat with the ends of the shoes, or else the hub may not fit back on.
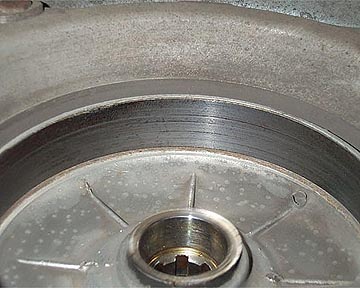
Before fitting the hub, check the inside face for dirt or scores. Lacquer thinner is a great cleaner if the inside is dirty. Again, make sure not to breathe any of the brake dust.
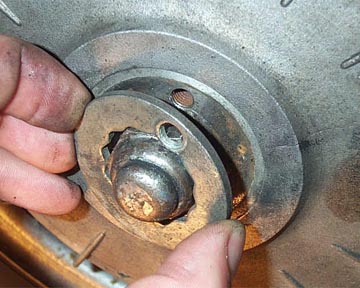
Refit the hub, making sure the slots in the hub center fit in with the axle slots. Once the hub is on, refit the washer and then refit and tighten the axle nut. The retaining washer needs to align with one of the holes in the hub. Once the axle nut is tight, try fitting the retaining ring. If the whole in the ring doesn't align with any of the holes you may need to tighten or loosen it just a bit to align it. See the picture below for how the hole and retaining ring should align. Refit the 5mm allen key and take it for a test drive. Once you find where the brake engages you can use the threaded adjuster on the engine side to place the engaging point exactly where you like it.
The job of replacing the rear hub on a Lambretta can be simplified and made more safe by using a simple home made rear hub holding tool. Here are two videos from Piston Ported that show how to make the tool and remount the rear hub
Next Section --> |
|||||||||||||||||